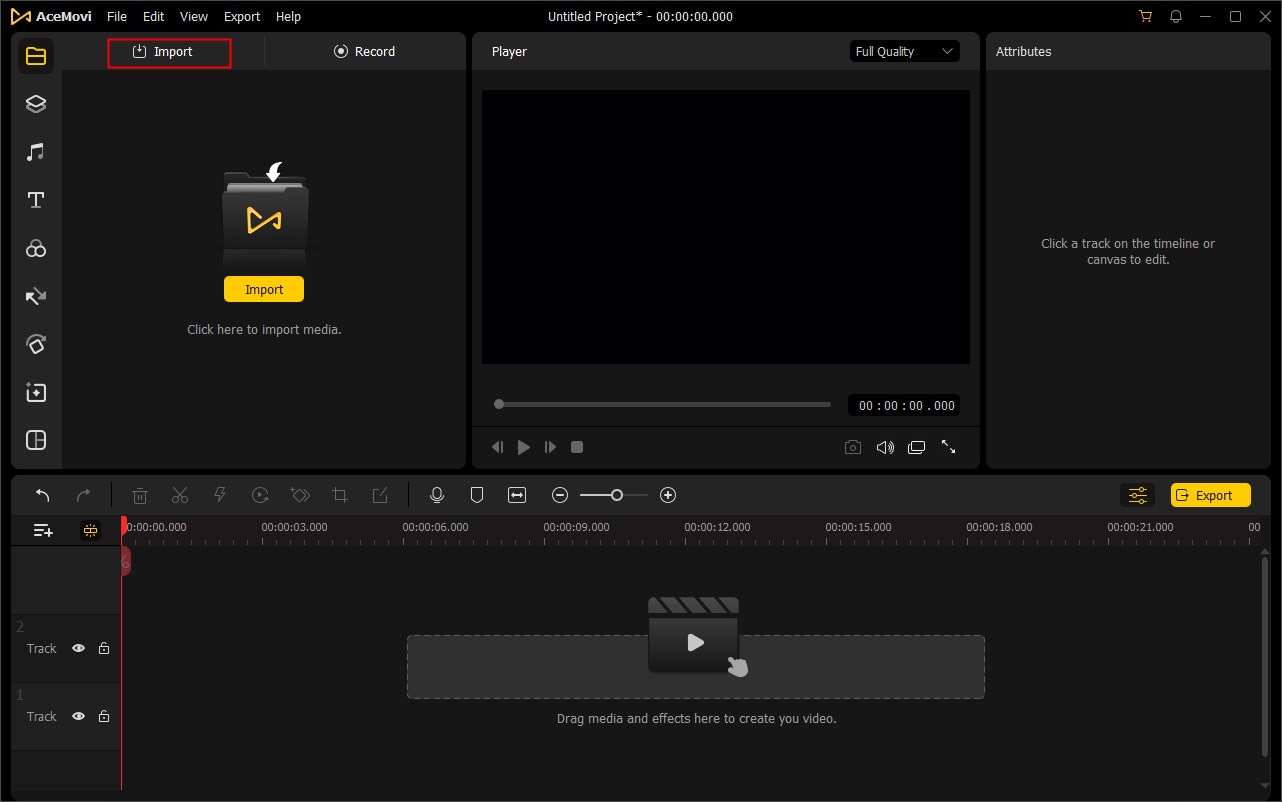
TunesKit AceMovi allows you to import standard, HD, and 4K videos. The built-in screen recorder also enables you to capture your computer video. All the imported media files will be stored in the Media Library for easy access.
There are three ways to import media files into TunesKit AceMovi.
Way 1: Click the yellow "Import" button in the Media Library, or "Import" tab above, and then choose media files that you want to edit from the popup window.

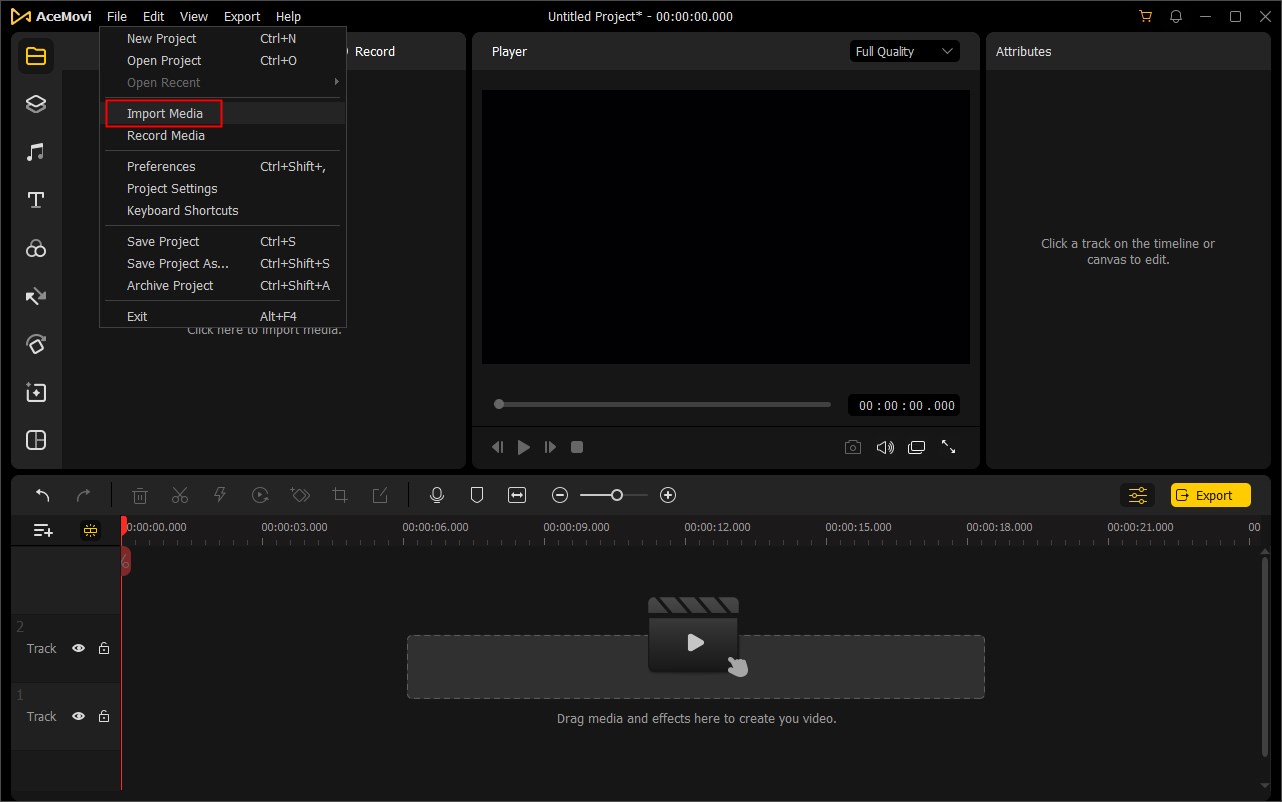
Way 2: Click the "File" > "Import Media" to browser target videos, audios or images and add them to AceMovi.

Way 3: Simply drag and drop media files into the Media Library or Timeline directly.
To record videos on your PC screen, you can first launch TunesKit AceMovi program. Click the "Record" option above Media Library or go to the "File" > "Record Media" on the top menu bar to initiate TunesKit AMRecorder plugin.

In the popup window, click the "Select Area" section on the left to set the screen you want to record. Next, click the "Settings" icon to set the preferences for your recording, including output location, shortcuts, etc. Then click the record "REC" button to start recording. You can choose to pause or stop the recording whenever you want. The recorded video clip will be automatically imported to the Media Library for use.
If you have tons of media files for editing, it's important to organize media files and find them with ease. You have four easy ways to do that:
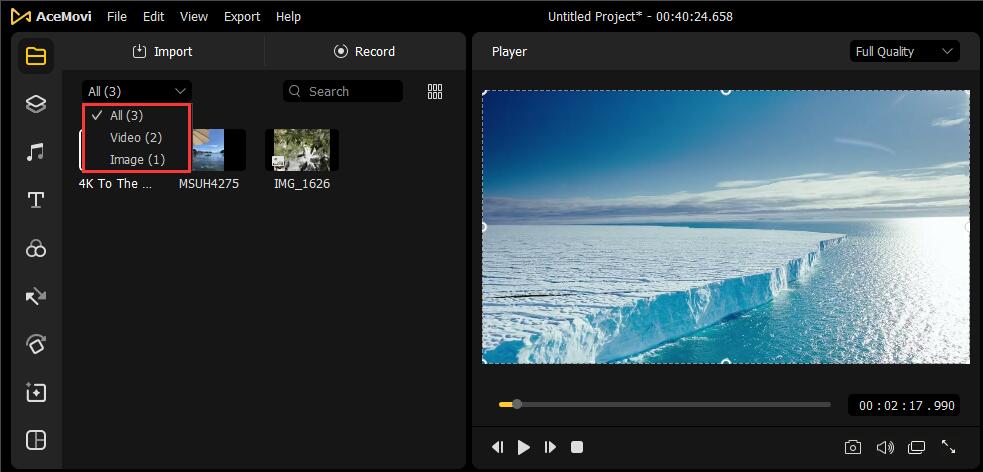
Way 1: You can easily filter your media files according to their file types such as video, image, and audio.

Way 2: Sort your media files by Name, Duration, Type, Size, and Date Created. Just right click the blank space in the Media Library, you'll see all these options.

Way 3: Type the name of the file in the search bar to locate the media file you've imported.

Way 4: You can change the thumbnail view you like, such as Large, Middle, Small Thumbnail View, or even List View.
