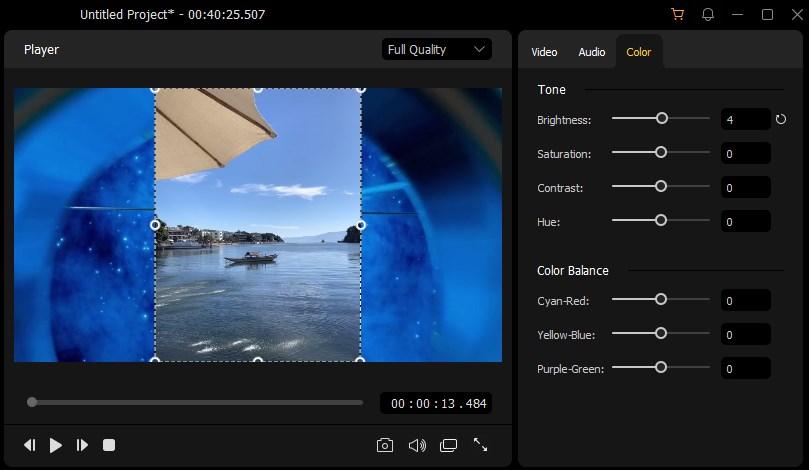
To add an image to your video clip, there are three different scenarios:
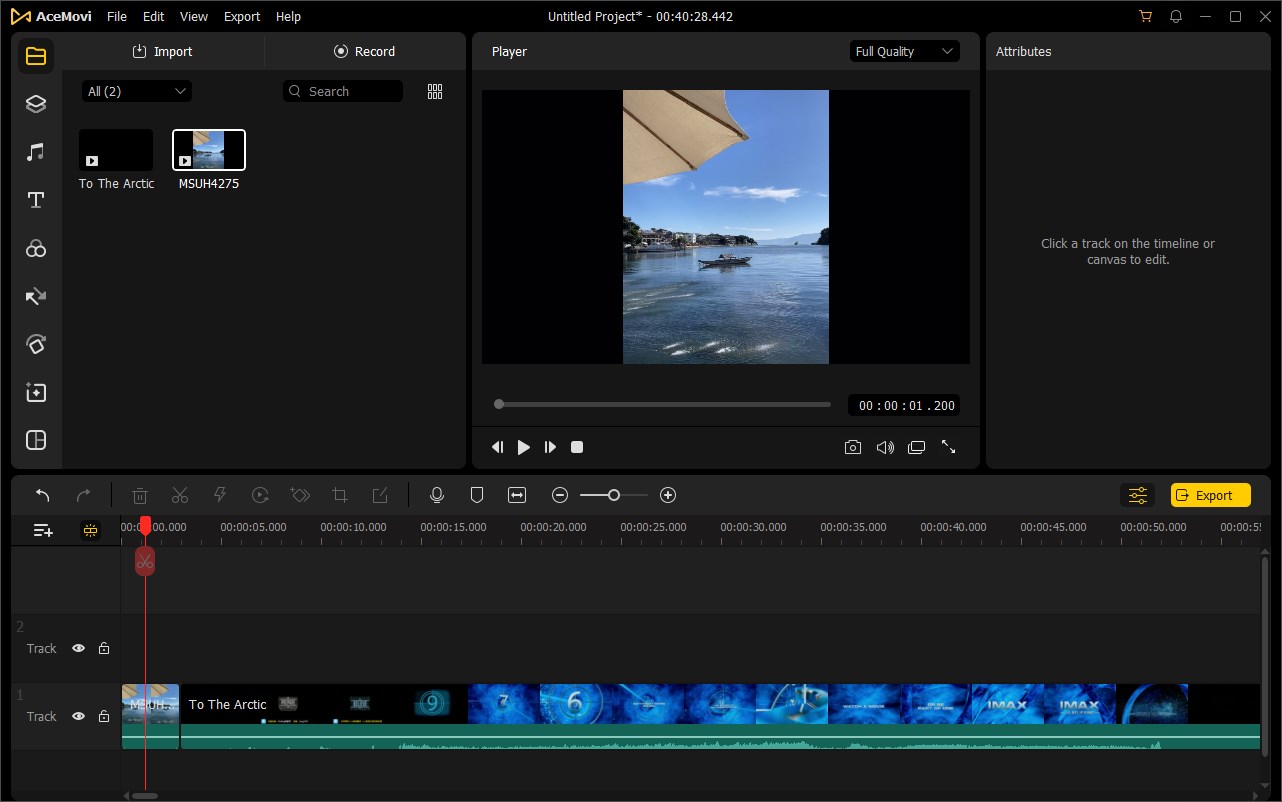
First, if you want to add an image to the beginning or the end of the video on the same timeline, you can simply drag the image and drop it before or after the video clip. Remember to leave enough space for the image, especially for the insertion at the beginning of the clip.
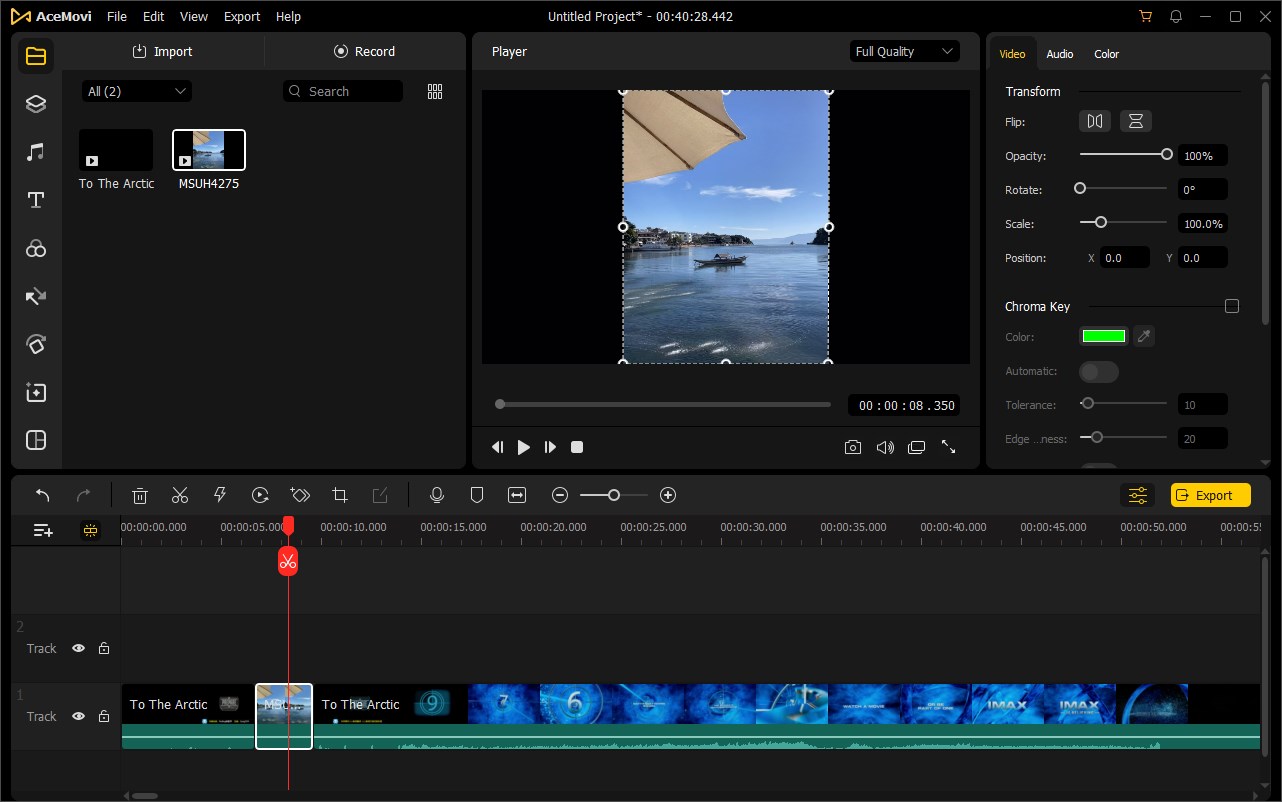
Next, if you want to add an image to the middle of the video file on the same timeline, you can directly drag and drop the image to the position where you want to insert it. The video clip will be divided into two portions. You can use the playhead to assist you to determine the beginning moment for the image.
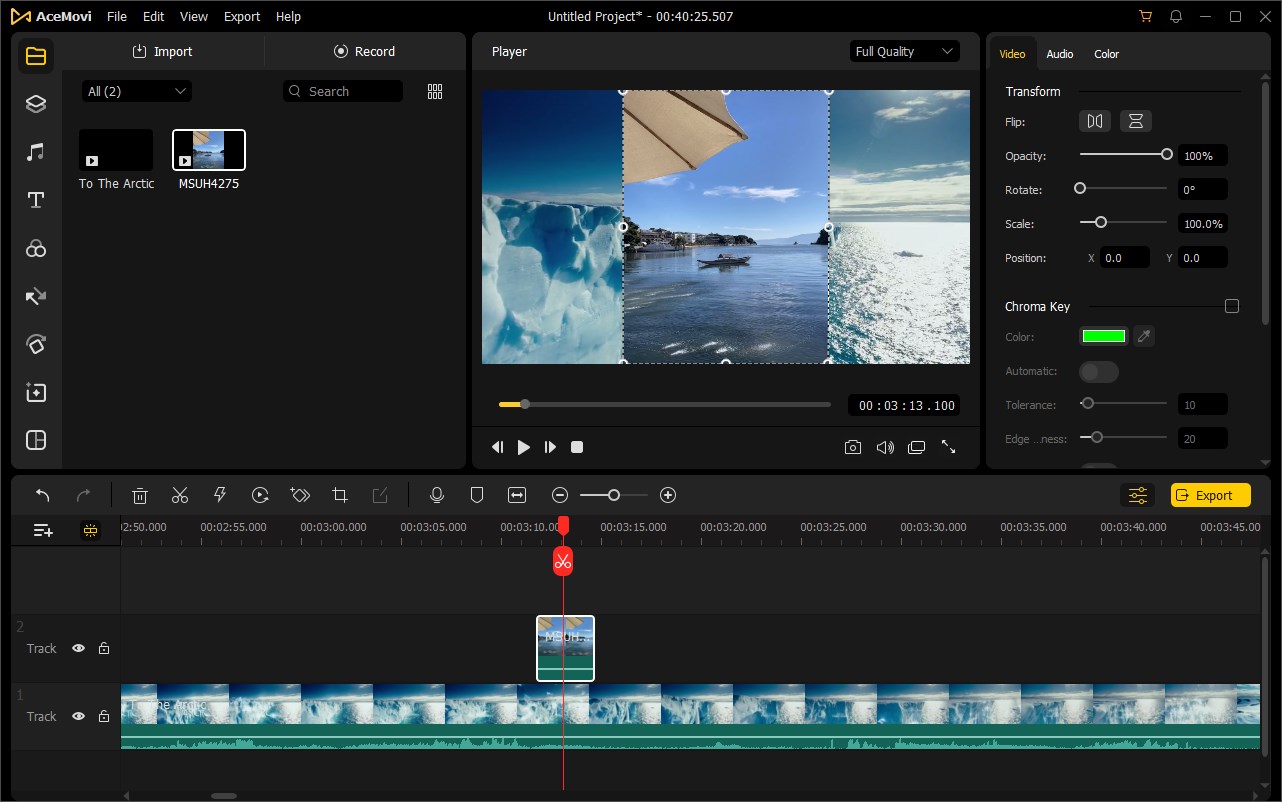
Finally, if you want to add an image as an overlay, you can simply drag and drop the image to the track above the target video clip. Drag the edges of the image to extend its duration to fit the video.
When you add an image to the timeline, the default duration is five seconds. Yet, you can change that duration according to your needs.
To adjust image duration, you can drag the left or right edge of the image in the timeline to the position you want. Or, right click on the image and choose the Duration option. Enter a specific numeric value to set the duration for the image.
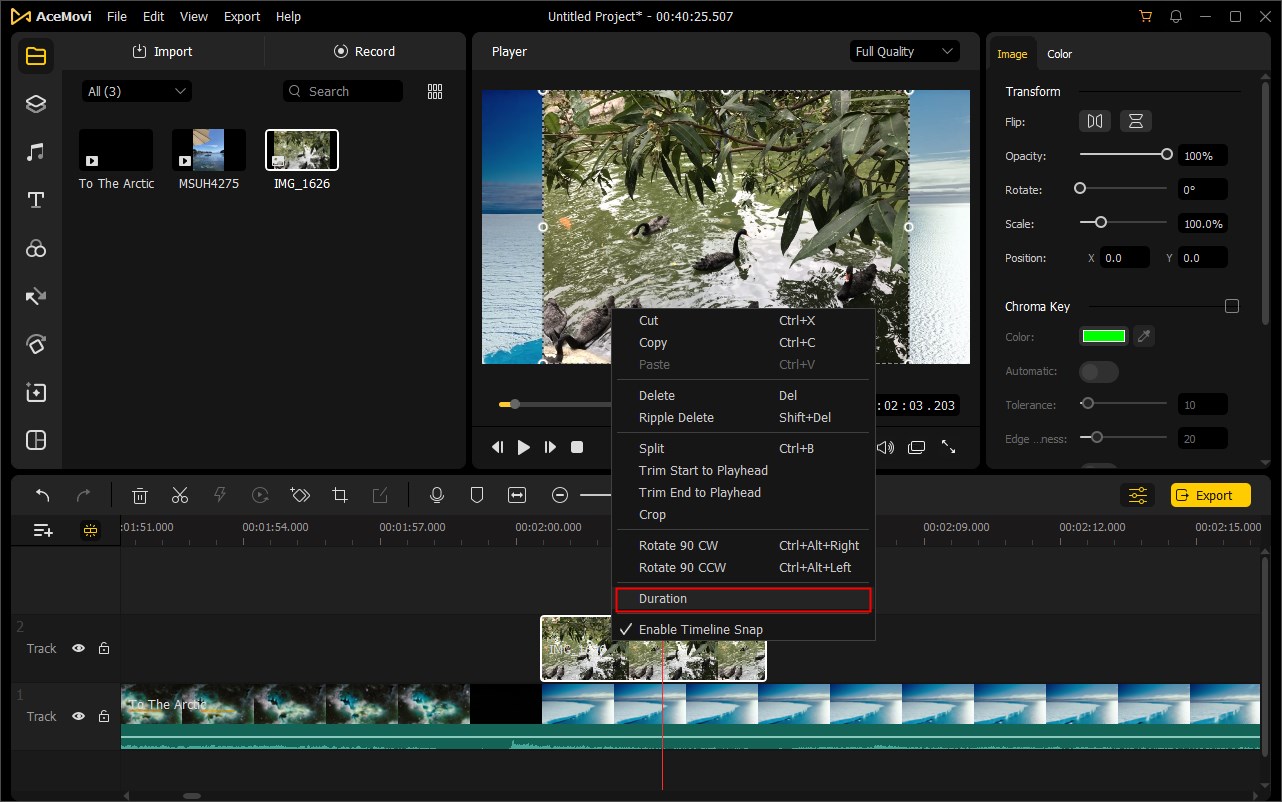
To change the position of an image, you can drag the image in the Preview Window and move it to any place you want. You can also resize the image by dragging the small circles at its edges.
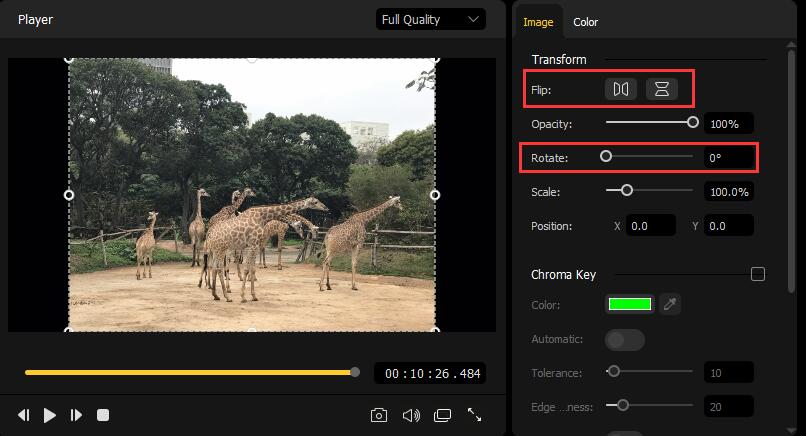
To rotate or flip an image, you can click on the file in the timeline and then press the Properties icon ![]() . Under the Image tab, you can drag the slider to rotate the image to the right position you want. Choose the Flip Horizontal icon to reverse the image from left to right, or select the Vertical Flip icon to turn it upside down.
. Under the Image tab, you can drag the slider to rotate the image to the right position you want. Choose the Flip Horizontal icon to reverse the image from left to right, or select the Vertical Flip icon to turn it upside down.
In the same Edit Window, switch to the Color tab. Here you can drag the slider to adjust the image's Brightness, Saturation, Contrast, and Hue as you like.
