

A simple yet advanced video editing software for everyone. Make and enhance your videos with amazing effects and resources.
After you import the target videos, audios, or images to AceMovi, you can now start to edit them as you like. In this part, we will show you how to use AceMovi to split and merge the video, cut and remove unwanted parts, crop and zoom video clips, rotate or flip the video, etc.
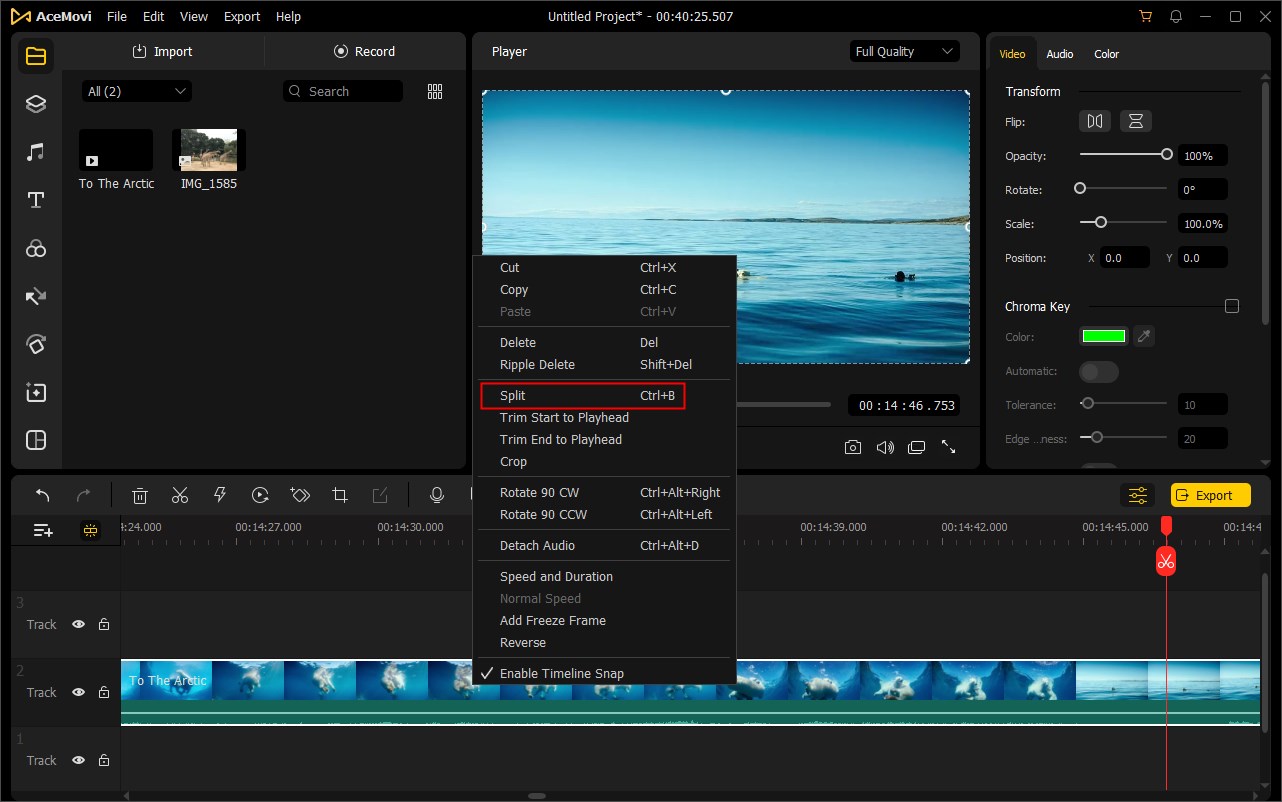
To split a video clip, you can move the playhead to the place where you want to split, click the Split icon (Scissors shape) ![]() , and the clip will be split into two parts. The second method is to drag the playhead to the position you'd like to split and then right click and select the Split option.
, and the clip will be split into two parts. The second method is to drag the playhead to the position you'd like to split and then right click and select the Split option.
To trim from the beginning or end of a video clip, you can hover the mouse over the left or right edge of the video in the timeline until the cursor becomes this icon. Next, drag the edge forwards or backward to trim off the unwanted section.
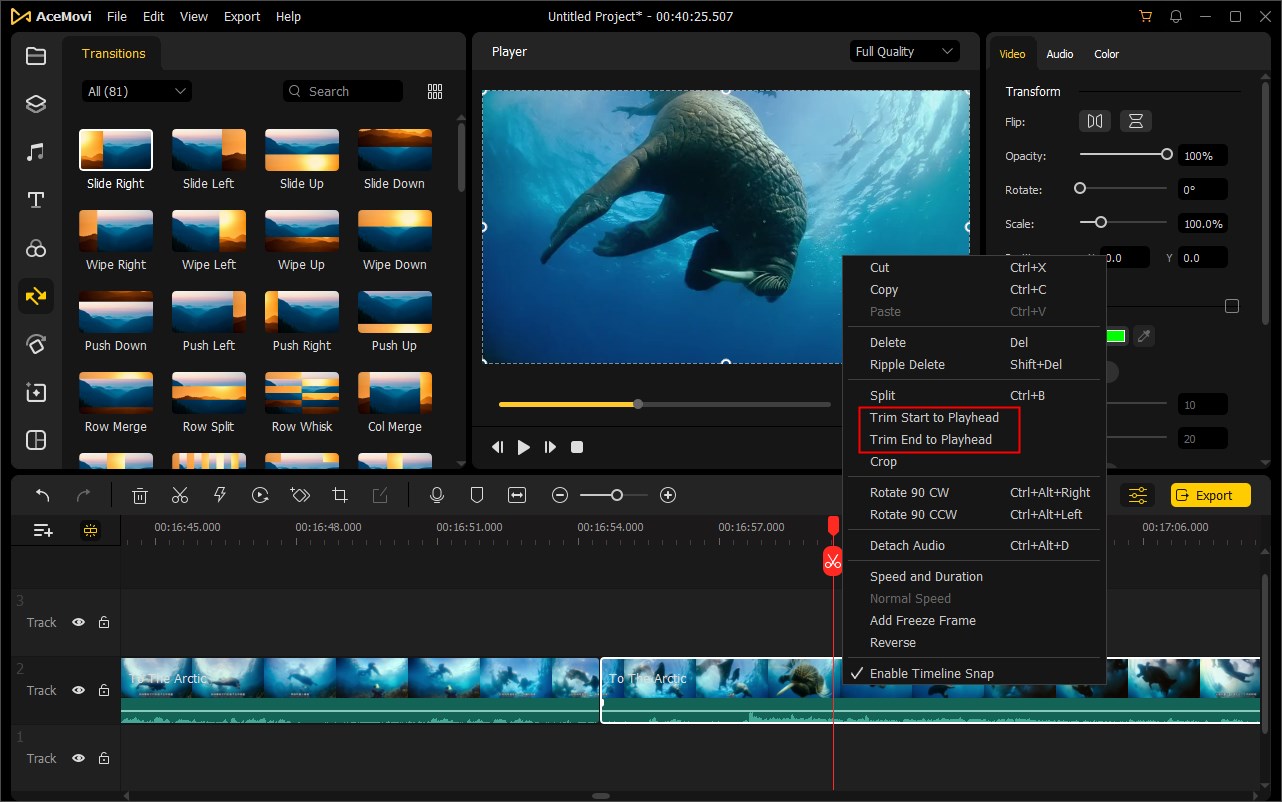
Alternatively, to trim from the start or end of a clip, you can move the playhead on the frame that you would like to trim. Right click the clip and select Trim Start to Playhead to cut out the unwanted part from the beginning, or select Trim End to Playhead to remove the end of the video clip.
To trim out an unwanted portion in the middle of your video clip, you can drag the playhead to the start point of the section you don't want, then click the Scissors icon ![]() to split the video. Next, drag the playhead to the end of the unwanted section and click the Scissors icon again. Now click on the unwanted portion and press the Delete icon
to split the video. Next, drag the playhead to the end of the unwanted section and click the Scissors icon again. Now click on the unwanted portion and press the Delete icon ![]() to remove this section.
to remove this section.
To crop a video clip, or zoom in and zoom out a video, you can choose the clip in the timeline and press the Crop icon ![]() or right click the clip to choose the Crop option.
or right click the clip to choose the Crop option.
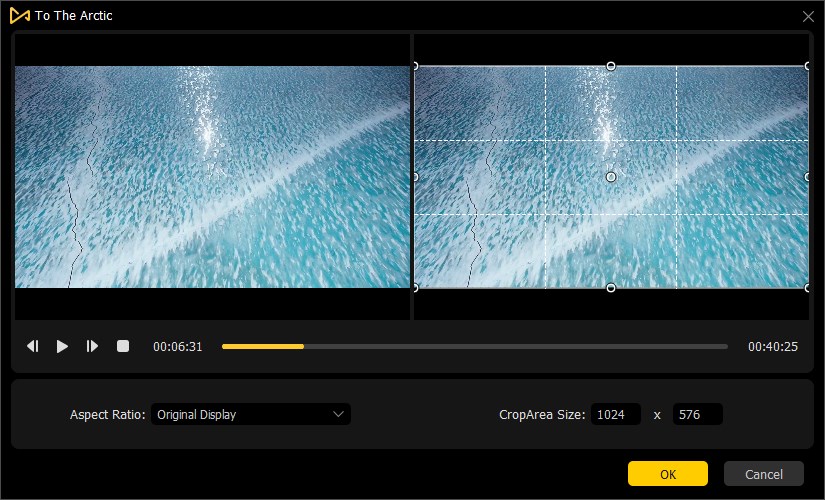
In the popup window, you'll see two windows. Move and adjust the rectangle in the right window to determine the area you want, and you'll see what looks like in the left preview window. You can manually enter the width and height on the CropArea Size, or select the aspect ratio as you like, including 16:9, 4:3, or 9:16, etc.
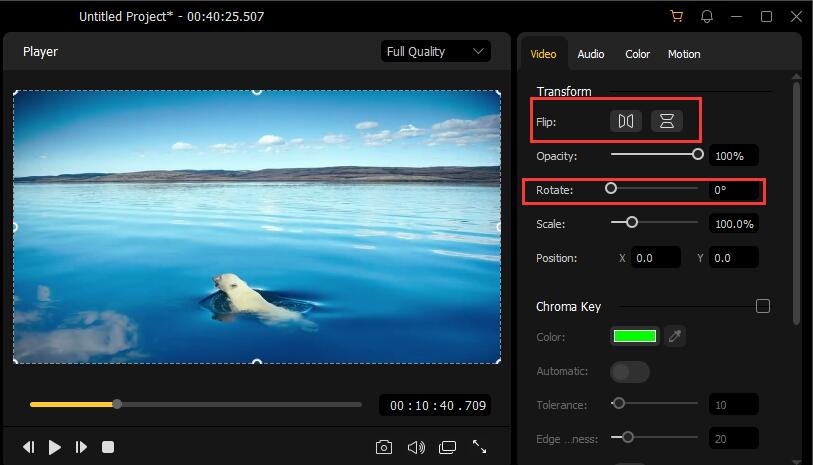
To rotate or flip a video, just choose the video clip in the timeline and click the Properties icon![]() . Under the Video tab in the Edit Window, you can drag the rotate slider to the right to rotate the clip as you want or enter a numerical value to rotate it. In the Flip section, you can click the first Flip Horizontal icon to flip the video horizontally or click the second Flip Vertical icon to turn it upside down.
. Under the Video tab in the Edit Window, you can drag the rotate slider to the right to rotate the clip as you want or enter a numerical value to rotate it. In the Flip section, you can click the first Flip Horizontal icon to flip the video horizontally or click the second Flip Vertical icon to turn it upside down.
* Note: To convert horizontal to portrait without cropping, you can right click on the video clip and choose Rotate 90 CW or Rotate 90 CCW directly.

To join multiple video clips, simply put them to the timeline in the sequential order you desire. Then click the Export button after finished editing, and they will be merged as one video.
* Note: Do not leave any space between each video clip, otherwise it may have black frames in the final video.
If you want to change the speed of a video clip, you can click the Speed icon ![]() in the toolbar. Here you're allowed to slow down the video from 0.5x to 0.01x or speed up your video from 2x to 100x.
in the toolbar. Here you're allowed to slow down the video from 0.5x to 0.01x or speed up your video from 2x to 100x.

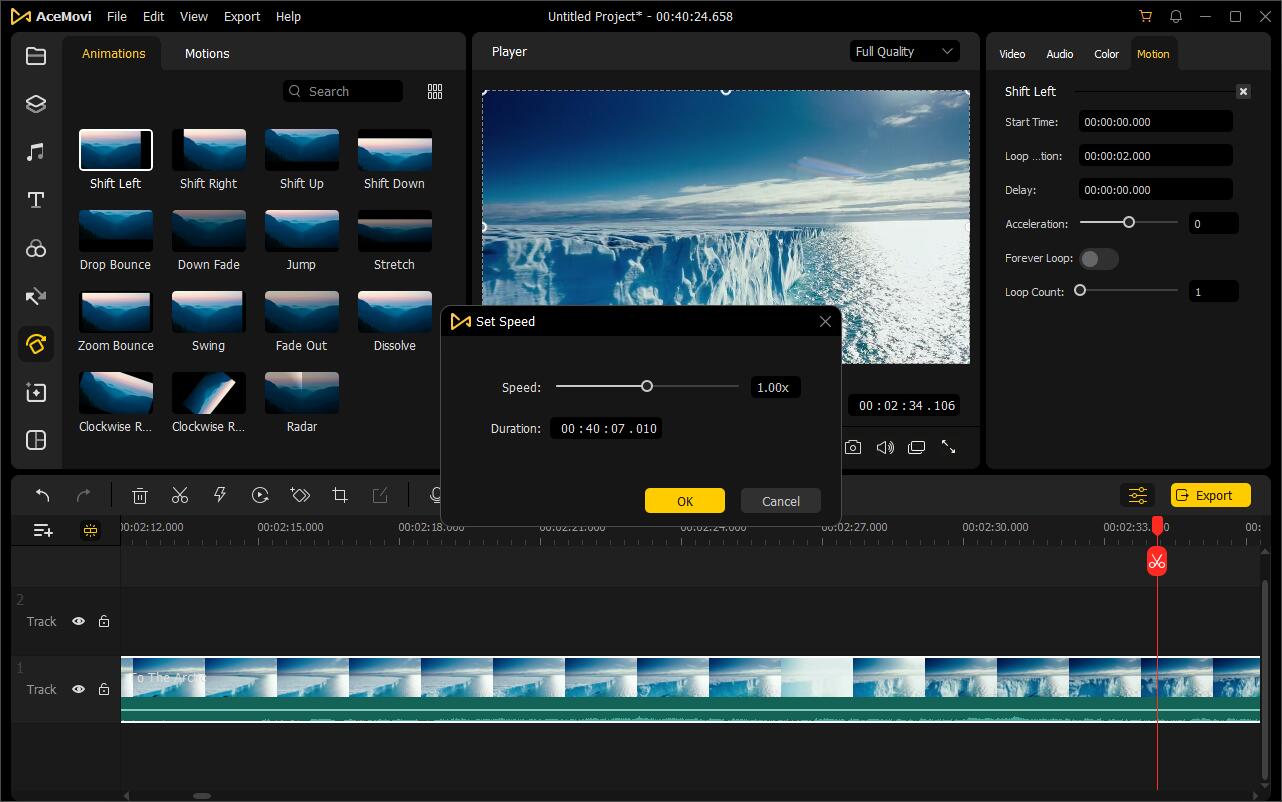
In addition, you can also customize and set the video speed based on your needs by selecting the Speed Custom option. Another way to adjust the speed is to right click the clip and select the Speed and Duration option. In the pop-up window, move the slider to speed up or slow down the clip.
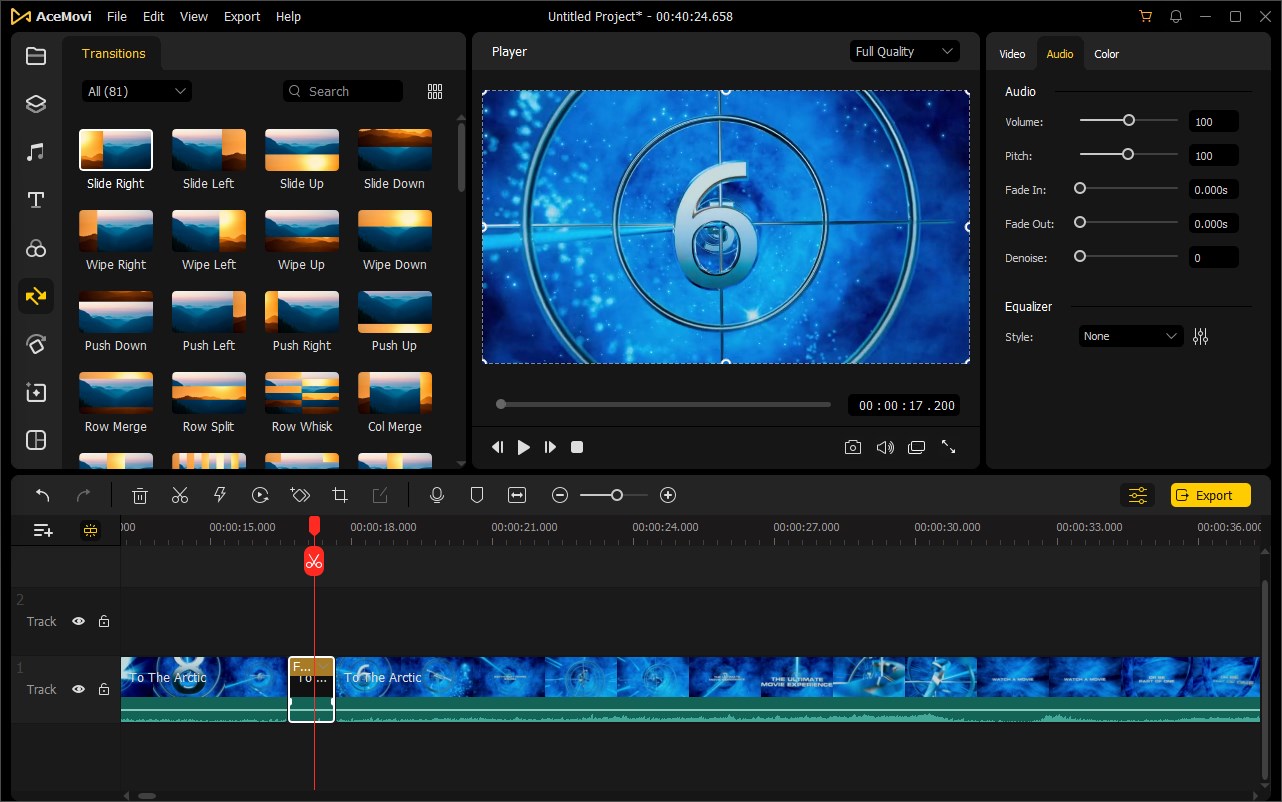
If you want to set the speed for one part of your video, you can simply use the Split feature ![]() to split out the portion you want. Then select it and do the steps above to change its speed as you want.
to split out the portion you want. Then select it and do the steps above to change its speed as you want.
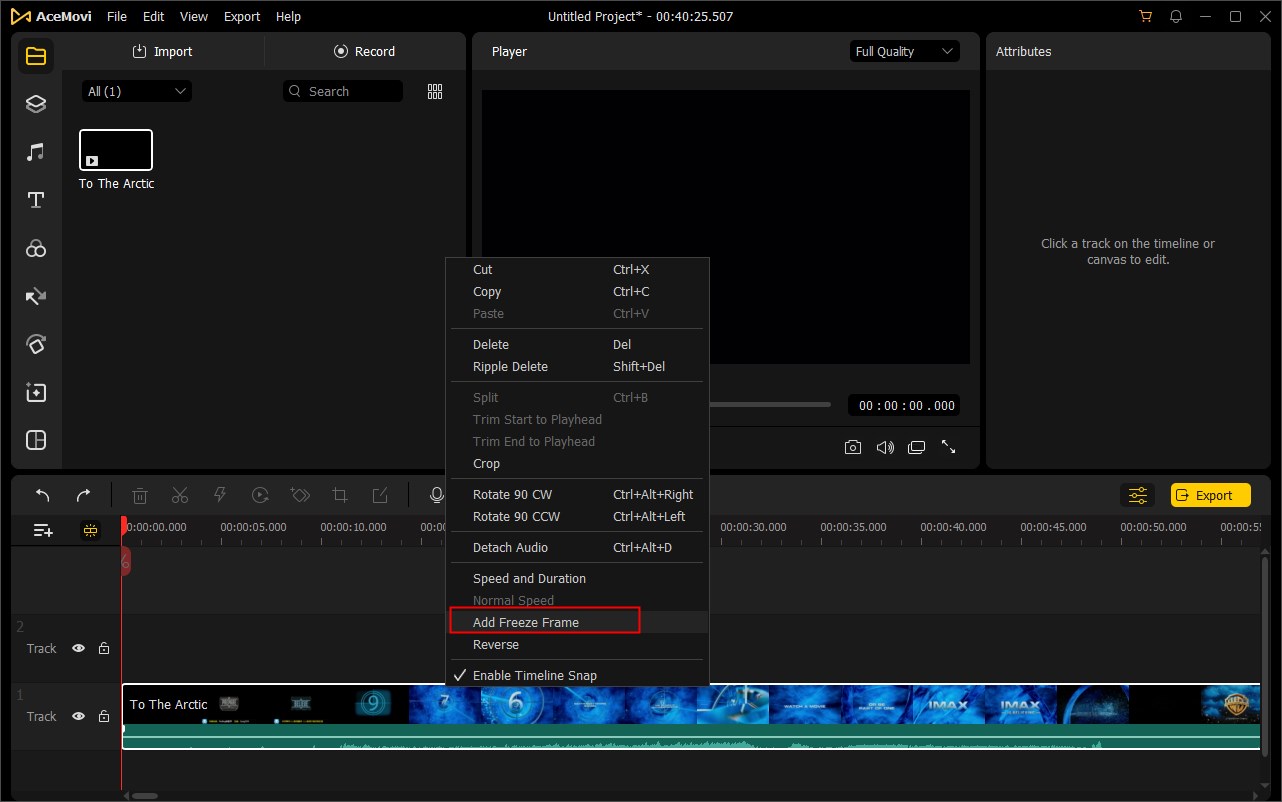
To add a freeze frame to your video, you can drag the playhead to the position where you want to add this effect. Next, click the Speed icon ![]() in the toolbar or right click the clip, and choose the Add Freeze Frame option. Thus, a 5-second frame with frozen image has been added to the clip in the timeline.
in the toolbar or right click the clip, and choose the Add Freeze Frame option. Thus, a 5-second frame with frozen image has been added to the clip in the timeline.
The default duration for the freeze frame is five seconds. If you want to change its duration, you can click the Freeze Frame area with a downward arrow to change the duration. To remove the freeze frame, click the same area and choose the Delete option to delete it.