
I'm re-encoding some video files which are different aspect ratios. They are for an old TV which stretches anything it plays to fill the 16:9 screen. Is there a way I can ADD black bars (top and bottom for cinemascope etc, or left and right for 4:3 or 'Academy') so the image is the full video within a 16:9 frame?
Video content can be engaging and entertaining if it is displayed in a perfect aspect ratio. Many of the video content creators are struggling in making their works look like a film. And that’s when the black bars come into play. Black bars are black areas that you might have not noticed on the top or bottom of a video or film. Technically, about 10 to 13 percent black area will be added above and below a widescreen film, and this is referred to as Cinemascope.
In the following parts, I’m going to show you 2 ways to add black bars to your video. You’ll be able to get your video a cinematic look in just a few steps.
- Part 1. Best Video Editor for Adding Black Bars to Video
- Part 2. Add Black Bars to Video by Adding Black Overlays
- Part 3. Add Black Bars to Video by Changing Aspect Ratio
- Part 4. Video Tutorial: How to Add Black Bars to Video
Best Video Editor for Adding Black Bars to Video
Adding black bars to your video is not a difficult task and you can do this in a video editor on your computer. Speaking of video editor, what comes into your mind might be some of the professional ones like Premiere Pro, Davinci Resolve or Final Cut Pro. But the thing is these require a bit of a learning curve and it may take more time to learn how to use these editors than to add black bars to your video.
So what you need is an easy-to-use to add black bars to video in just a few steps? TunesKit AceMovi is all you need. In this tool, you can directly find the black bars that you need and add them to your video without having to spend time finding materials online.
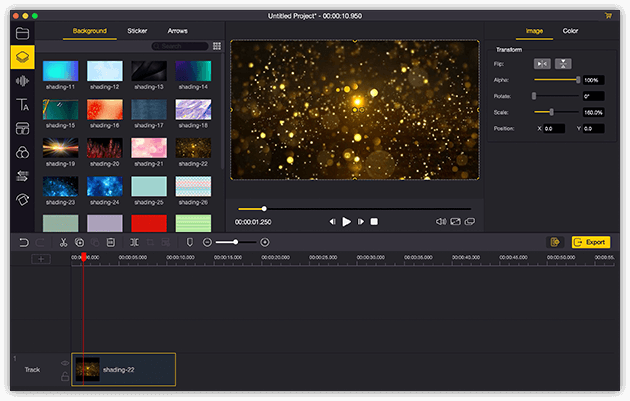
TunesKit AceMovi Video Editor is a versatile video editor that provides multiple effects and transitions. It comes with a screen recorder which can record images as well as the sound coming out of your computer. As a well-established video editor, AceMovi is mounted with features like split screen, filters, animations, texts, and music library. The user-friendly interface comes with all the effects and tools you need to embellish your video. With backgrounds of different colors, you can directly add black bars to your video in just a few simple steps.

TunesKit AceMovi Video Editor
Security Verified. 5,481,347 people have downloaded it.
- Basic and advanced features that make your video better
- Multiple filters, transitions, text, sound effects, music
- User-friendly interface
- Import as many photos or footage as you want
- Add black bars to video in just a few steps
Add Black Bars to Video by Adding Black Overlays
Next up, I'm going to show you how to add black bars to your video in TunesKit AceMovi. Before you edit your video, make sure that you have already installed TunesKit AceMovi on your computer, this currently supports Windows and Mac systems.
Add Video to TuneKit AceMovi
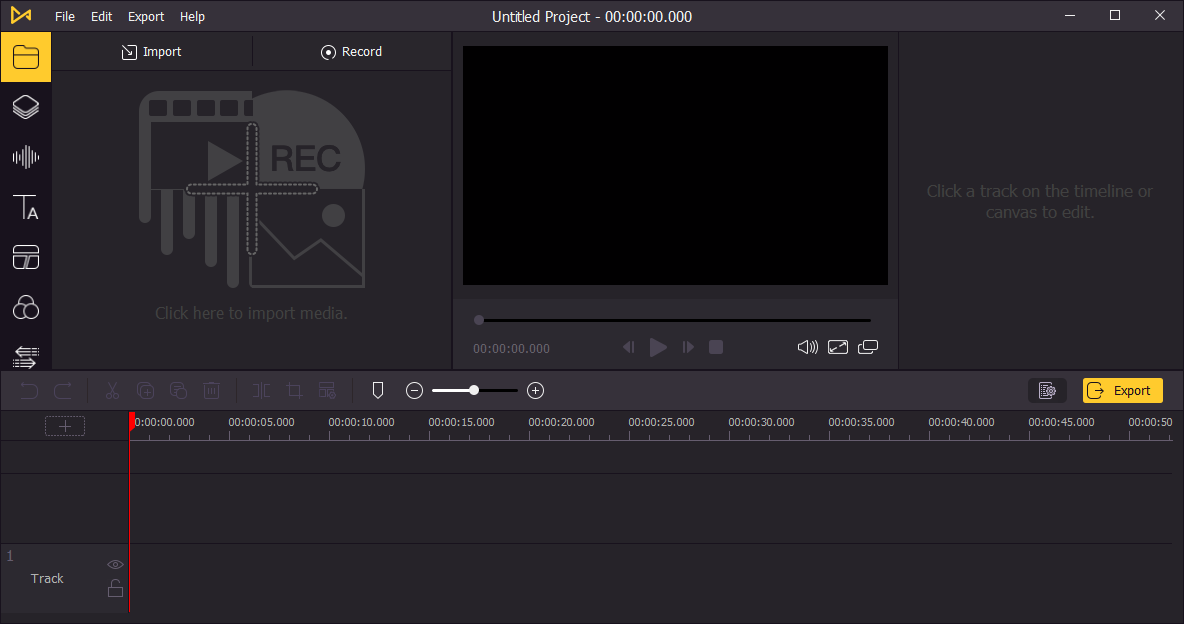
Open TunesKit AceMovi on your computer, then import your video to the media box. You can click on the import button to upload or directly drag and drop the video file into the box.
Add Video to the Timeline
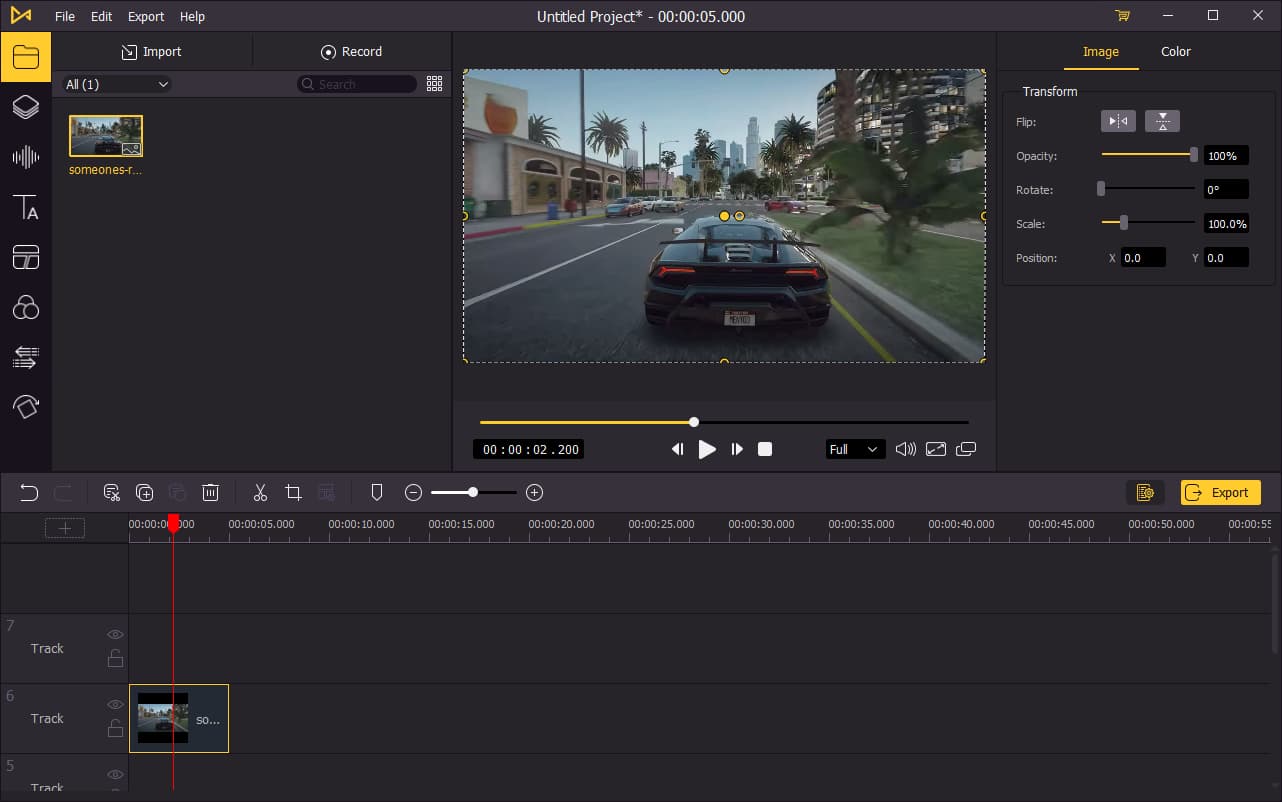
To add your video to the timeline, you can directly drag and drop it onto the timeline. You may want to drag the slider above the timeline to zoom in/out the timeline so that you can edit your video more easily.
Add Black Overlays above the Video
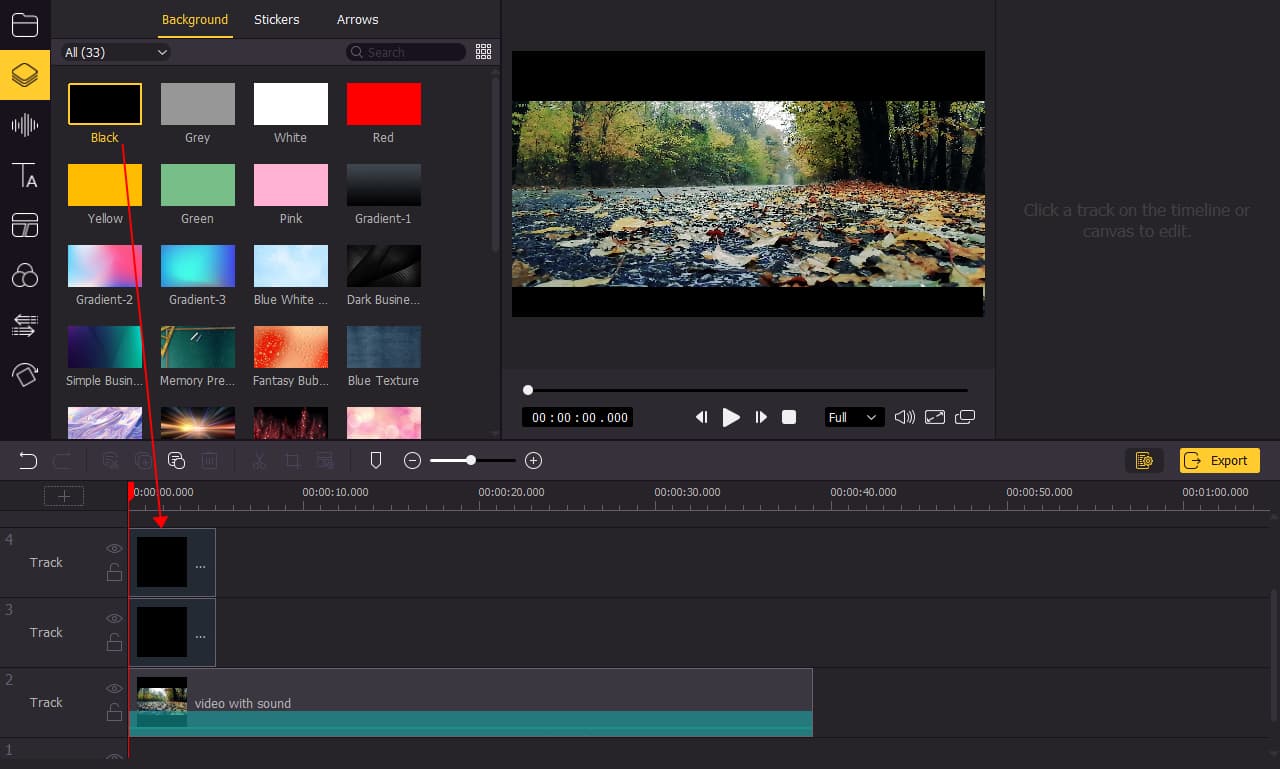
Go to the left bar of the interface and click on the Elements icon. Under the background menu, find the black background, then add it one track above your video track. Click on the black overlay track to highlight it and go to the preview window, drag the bottom edge up to adjust the area it covers.
Add another black background to the timeline, then drag the top edge down to adjust the size of the bar. Now you have successfully added black bars to your video.
Export Video
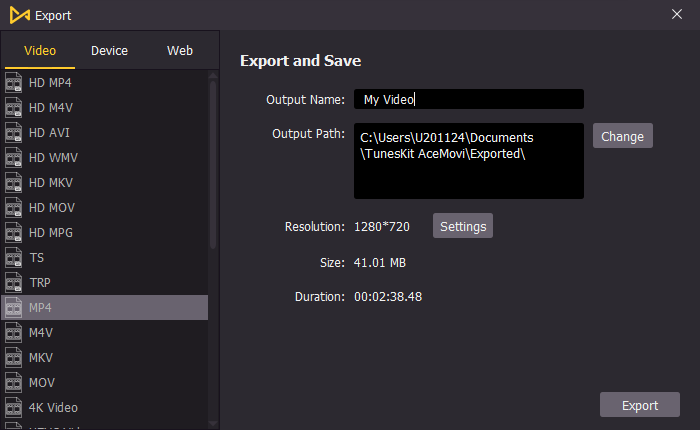
Once done editing your video, click the Export button on the middle left and export your video. Click the Settings, you'll be able to choose the output parameters. And by clicking the Change button, you can change the output location.
Add Black Bars to Video by Changing Aspect Ratio
The former way can be problematic if you're uploading your video on YouTube, you can not see the black bars at all if you're viewing the video on a non 16:9 screen. Here's another way to add black bars to your video and you'll never go wrong with it. Since the cinematic ratio is 2.35:1, and people usually view the video on 16:9 screens, black bars will be automatically created if you change the aspect ratio of your video to 2.35:1. Here's how to change the ratio of your video:
Step 1: Open TunesKit AceMovi and click on File > Project Settings.
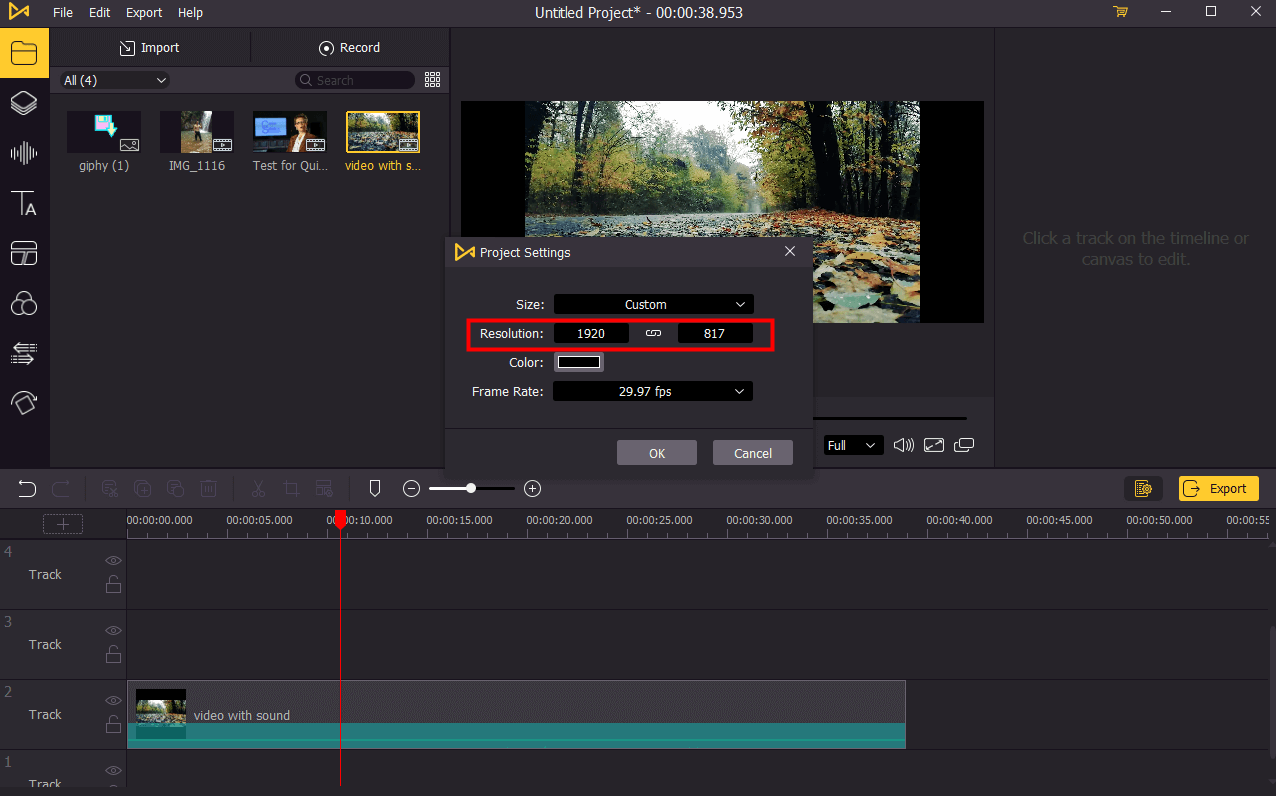
Step 2: Next to Resolution, change the ratio to 2.35:1. If your video is in 1080p, change the 1080 to 817; if your video is in 4K, then change the 2160 to 1634.
Step 3: Add your video to the timeline and choose the settings you've just set up, then the black bars will be automatically created.
Step 4: Export the video.

