
Instagram is a popular social media application and helps one acquire all the fame by displaying their skills to the world. It has incredible features and gives everything that one wishes from a well-established app. The features simplify posting videos and pictures. But if you want to make slideshows on Instagram without using third-party slideshow maker for Instagram, it's probably very difficult.

There is one feature that misses in Instagram, and that is creating slideshows. As you cannot make one, you must rely on a third-party app that creates a slideshow, which you can then use on Instagram. Today, we will speak about how a slideshow maker for Instagram can further boost your presence on the platform and attract more people. The article focuses on the best slideshow makers.
- Part 1: TunesKit AceMovi
- Part 2: Canva
- Part 3: Animoto
- Part 4: Vimeo
- Part 5: Smilebox
- Part 6: Clideo
Top 1. TunesKit AceMovi – Best Slideshow Maker for Instagram
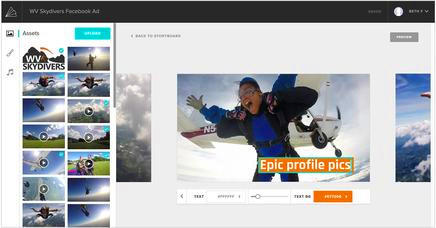
Video editing makes an editor create fun-loving videos for consumers. When you have all the features and editing tools in one place, you can unleash your imagination and bring out the results that you want!
TunesKit AceMovi slideshow maker for Instagram has everything you need and expect from the software. What makes it separate from others is the editing capabilities. It recognizes any video format with ease and helps you edit according to your requirement. The advanced features present in the tool simplifies the process of editing and takes less effort to navigate the user-friendly interface to complete even a complex video.
Guide to Use TunesKit AceMovi to Create Slideshow for Instagram
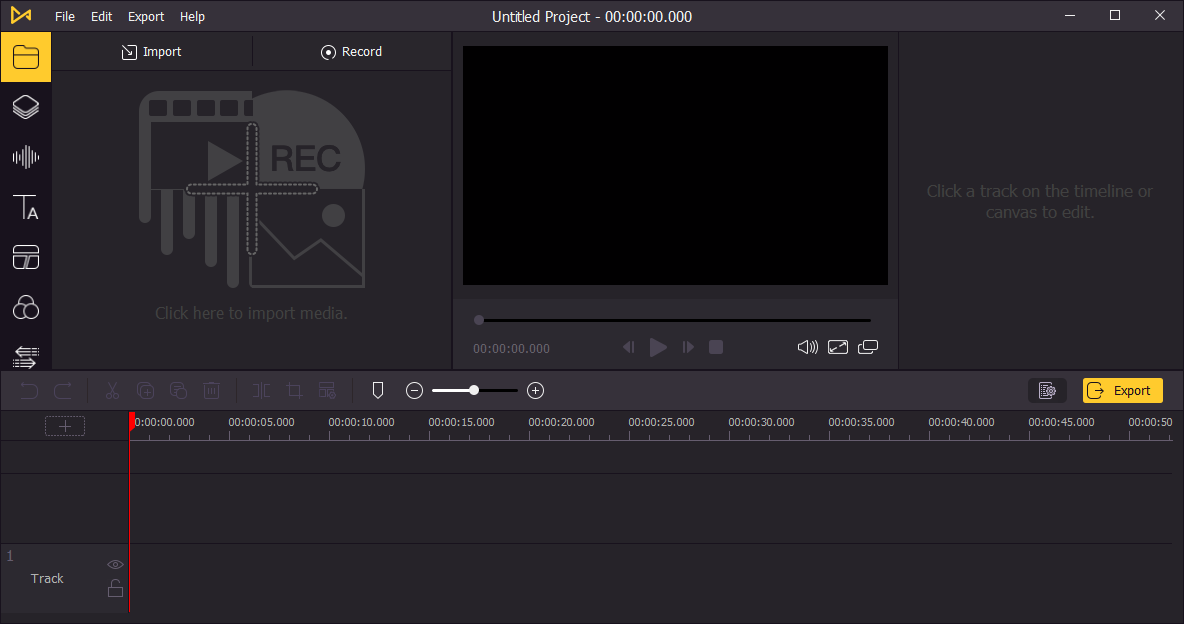
Step 1: Launch TunesKit AceMovi
Download AceMovi by heading to the TunesKit website. Choose the version based on your operating system. You can edit using the free version, but the video will have a watermark. If you want to remove the watermark, register the product for a full version. Input the license sent to the registered email address.
Step 2: Edit Video
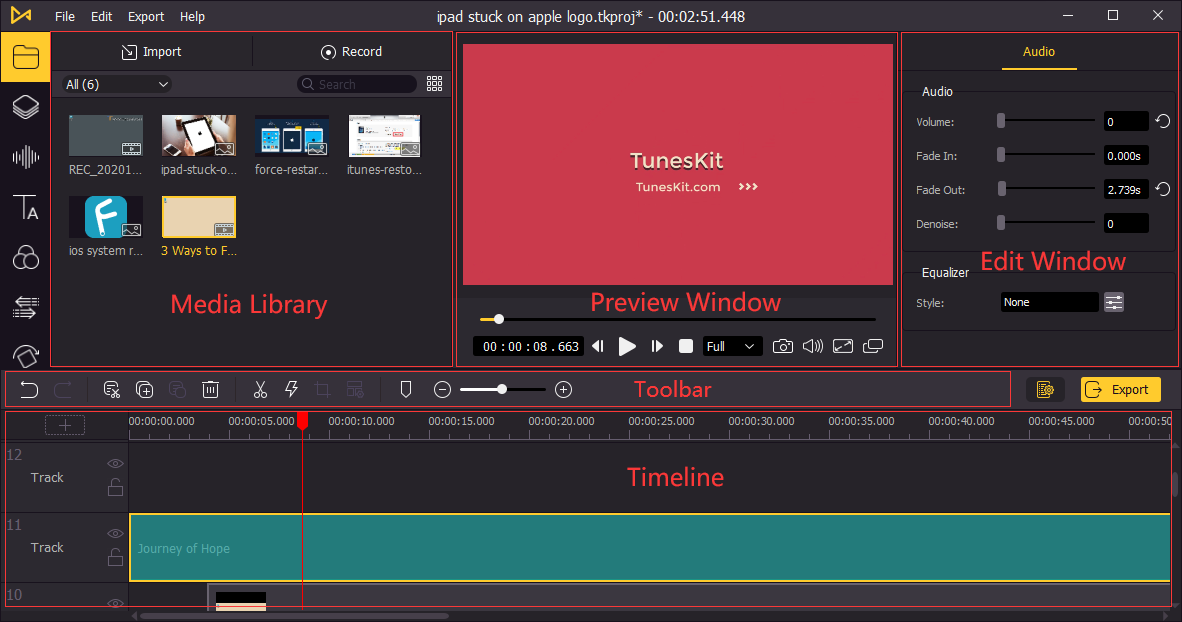
Add media files by clicking the "Import" button. You can add video, pictures, and audio files. Click the "Transitions" option from the left side menu bar. Add one or more presets between videos. The animated slideshow maker for Instagram will apply them automatically. You can adjust the video length and placement of the transitions. You can also add an audio file and adjust volume, fade in/out, and denoise. Changing the audio speed will help you complete the action of having the perfect slideshow for your Instagram.
Step 3: Export Video
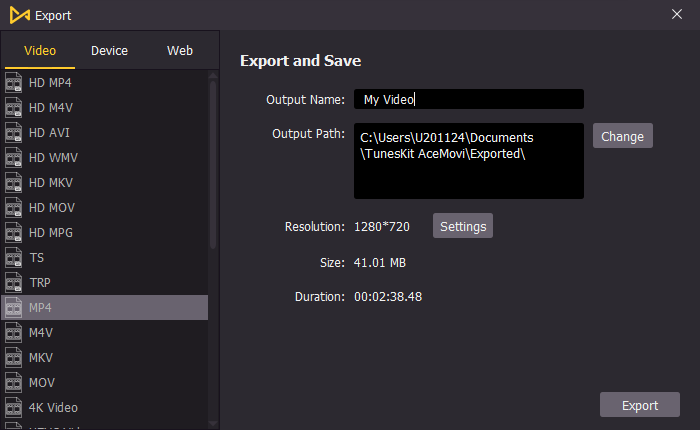
Upon completing the editing, click the "Export" button to save the file in any format. If you are not sure of the video format, you can choose the Device option. Likewise, you can share it with different social media apps using the Web option.
Top 2. Canva
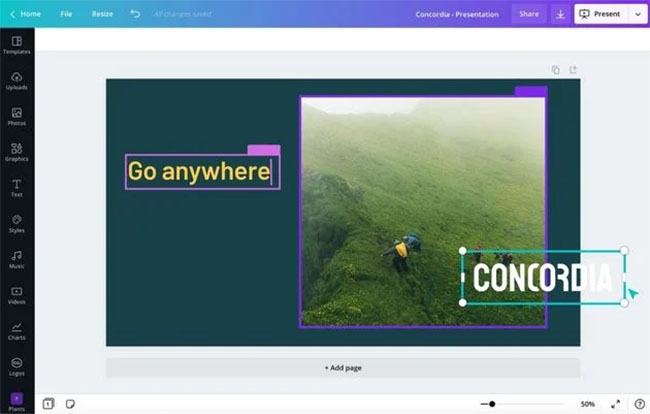
Canva is a free slideshow maker app for Instagram and targets inexperienced video editors. The software is simple and fun to use. It does not require previous editing skills to create a slideshow. You can either use the readymade templates or begin from scratch. You can pick from the categories and set the markings to complete the project.
Pros:
- Tons of built-in templates
- Print-ready graphics
- Integrated stock photobank
Cons:
- Limited functionality
- Graphic elements require a subscription
Top 3. Animoto
Animoto is another free slideshow maker for Instagram. It is for all ages and does not need any professional experience. Every individual can use the program to create intuitive videos using the features that will help you bring out innovative videos and reach more audiences.
Pros:
- Simple to use
- It has a mobile app for on-the-go use
- You can create 720p using the free version
- Allows direct sharing of videos to social media sites
Cons:
- 14-day trial
- Monthly subscription
Top 4. Vimeo
Vimeo is suitable for industries and individuals who rely on video content. The video slideshow maker for Instagram helps professionals create high-quality outputs with the feature-rich application. It even has a built-in media player and a mobile app for discovering new content.
Pros:
- Excellent video player
- Feature-rich editing tools
- Available as a mobile app
- No ads
Cons:
- Crowded web interface
- Mobile-upload limitations
- Expensive storage tiers
Top 5. Smilebox
If you are ready to share your pictures through a short slideshow, then Smilebox comes to your aid. The free slideshow maker for Instagram provides a plethora of options to create intriguing videos. You can use all the tools available to create a visually impressive narrative. You can turn all your photos into a video and add your favorite music.
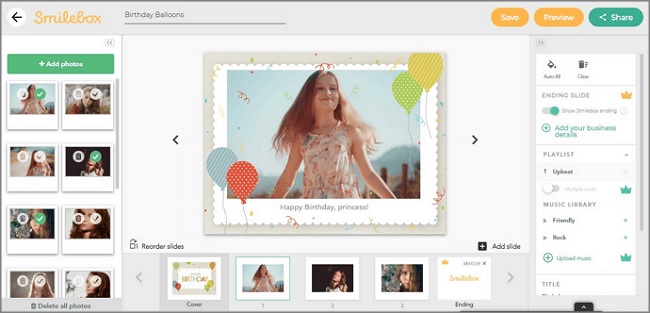
Pros:
- Simple-to-use interface
- Numerous templates across different categories
- Quick online sharing
Cons:
- Limited offering in free version
- Reduced DIY capabilities
Top 6. Clideo
Clideo is an online video editing platform. The free slideshow maker for Instagram helps you create wonderful videos using your photos. It has a versatile collection of editing tools, and you can add music and text to attract relevant audiences. It supports all the video formats. You can further edit the resolution and choose the preferred output mode before saving the project. It even has stop motion, speed, loop, memes, and flip.
Pros:
- Social sharing
- Video speed controller
- Supports HD resolution
- Text overlay
Cons:
- Limitation to the uploaded video
- Limits to features in the free version
- Requires a stable Internet connection
Conclusion
Rather than opting for programs that require a detailed procedure, you can choose any one slideshow maker for Instagram discussed in this article. Thus, even a layman can use them instantly and post them in their Instagram account. However, several free tools have limitations and valuable when you are okay with the features available. But, if you seek full-time software for use on desktop, then the TunesKit AceMovi desktop slideshow maker for Instagram is the right choice to unleash imagination and create exquisite slideshows.