
Audio normalization is the application of a certain amount of gain in the whole process of video balance so that the amplitude will reach a standard level. And there are two main types of audio normalization: peak normalization (in line with the highest signal) and loudness normalization (in line with the perceived loudness). More often than not, we have to normalize audio in videos when the background sound and noise are loud while the voice is low or non-continuous.
If you’re encountering such kind of audio problems, join us today to see the following tips - we’ll share with you the best audio normalizers and the tutorials of how to normalize video audio without compressing for offline & online.
- Part 1. How to Normalize Audio in Video by AceMovi Free

- Part 2. How to Normalize Audio in Video Online Free
- Part 3. Other 3 Professional Audio Normalizers
Part 1. How to Normalize Audio in Video by AceMovi Video Editor
It's very easy to find the steps to begin the audio normalization workflow on AceMovi Video Editor - download & launch AceMovi and dive into the audio plate, in addition, you can enjoy other audio editing features like volume adjustor, pitch balancer, or add fade-in & fade-out effects, etc.
With AceMovi Video Editor, you are provided with two very simple methods to normalize video audio without compressing and audio-track detachment, they’re Denoiser and Audio Equalizer. Also, by AceMovi, you can normalize audio in both single and multiple video files without any lag and quality loss. Besides, AceMovi supports a vast library of import and output video formats, like MP4, AVI, MOV, VOB, MKV, and more, by the way, you’re allowed to directly add audio as another soundtrack as well.

TunesKit AceMovi Video Editor
Security Verified. 5,481,347 people have downloaded it.
- User experience: easy-to-catch and intuitively-arranged
- Simple guides: blur parts, faces, texts, and background in just few steps
- Normalize audio: apply audio denoiser and audio equalizer
- Export formats: various output options to choose from format, device, social platform
- Video effects: multiple filters, transitions, background music, sound effects, text, templates etc.
To enjoy more audio and video features, remember to download the latest version of AceMovi Video Editor (to see the download above) on your Mac or Windows. Now, let’s see the detailed steps of normalizing audio in your preferred video by AceMovi.
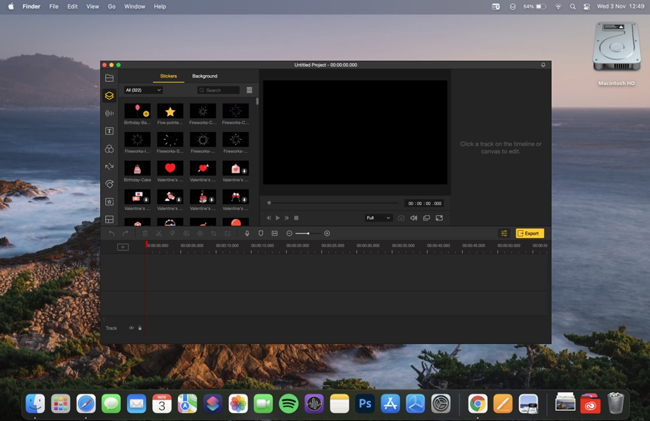
Import Video Clips
To begin with, drag-n-drop your video clips under the timeline, in the process, you should move the clips into different tracks if you want to normalize multiple video files. Other approaches like clicking on the Import icon and right-click your videos’ thumbnails then choosing the Add to the Timeline or clicking the + sign can help you import also.
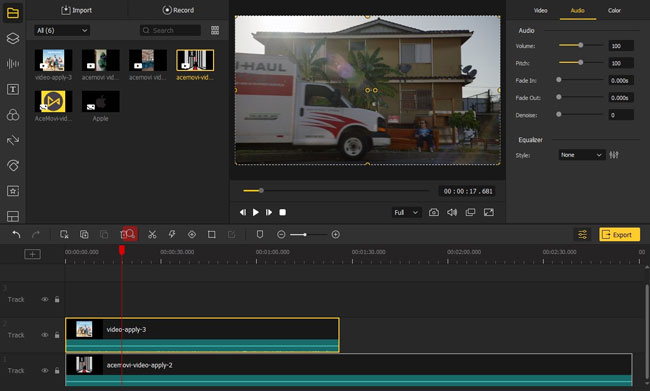
Commence Audio Normalization by Denoiser and Audio Equalizer
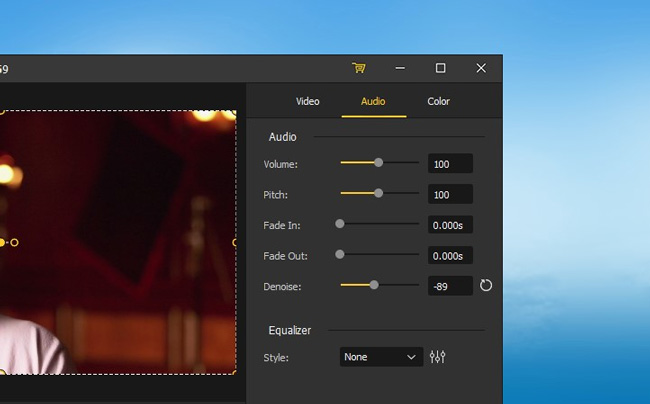
Audio Denoiser: You can get the audio denoising function in the right plate, and by default, it’ll be set as 0. At the moment, you can slide the audio denoise slider range from 0 to -200 when playing the video in real-time. Meanwhile, it’s available to change the audio volume and pitch or apply the fade-in & fade-out effect here.
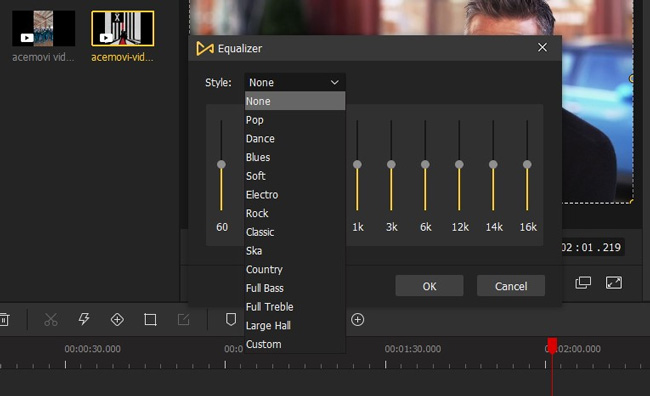
Audio Equalizer: Below the Denoise, you can find the Audio Equalizer (also called Audio Mixer), which helps in setting ten different audio genres, also, if you’re a newcomer in audio normalization, just opening up that drop-down menu Style to choose the Pop, Dance, Blue, or Soft audio styles. For example, you can apply the Soft to increase the human volume while decreasing the background audio.
Export the Normalized Video
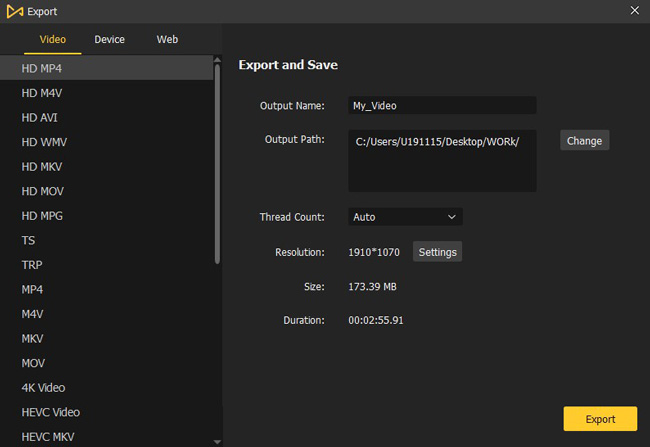
Like we said before, you can export your normalized videos into a slew of channels and AceMovi divided them into three major categories - Video Format (MP4, M4V, AVI, MKV, HEVC, and more), Device Types (iPhone, iPad, Apple TV, Galaxy, Huawei, and more), & popular social websites (YouTube, Vimeo, Facebook, FLV, SWF, and more).
Part 2. How to Normalize Audio in Video with Video2Edit for Free [Online Audio & Waveform Normalizer]
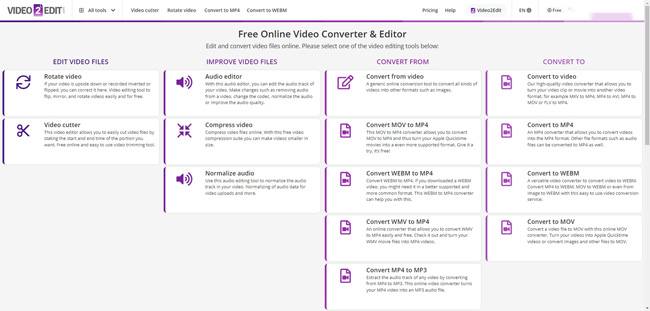
If you prefer to normalize audio in videos online, you can have a try of Video2Edit, which is a free online video editing toolkit that comprises 15+ different video & audio editing features like video rotate, video cutter, audio editor, video compressor, and audio normalizer, etc.
Steps to Normalize Audio in Video via Video2Edit
Step 1. Press the link to browse to Video2Edit. And find the Normalize Audio in the Improve Video File pane. However, you’d better log in at the very beginning to get the service of normalizing large video files.
Step 2. You can import video and audio files by drag-&-drop, enter URL, Dropbox, or Google Drive. Then set the output video files as 3G2, 3GP, AVI, FLV, MOV, MP4 in the option Settings. If you’re ready, click that START icon to get started with the audio normalization.

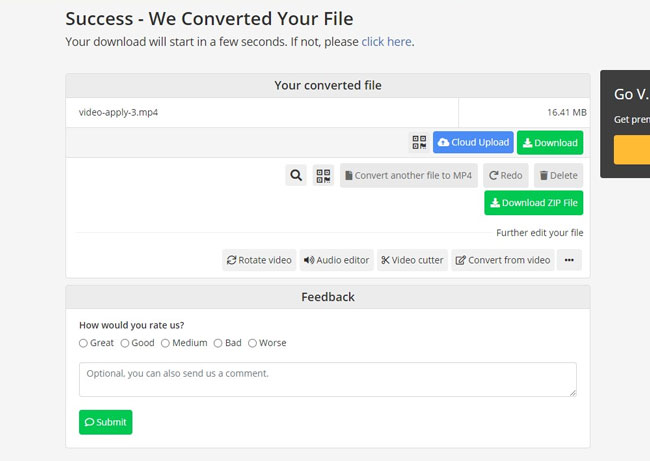
Step 3. Now we’re coming into the last step, just free upload the normalized video in the personal cloud or download it as original, designated, or ZIP video files on Mac or Windows. However, you can not see the video in real-time like AceMovi, so if you’d like to continue to edit the video, you have to check it on your desktop firstly.
Part 3. Other Three Recommended Professional Audio Normalizers
If you want to normalize the audio track and waveform in video with more accurate and advanced features, the following three professional audio normalizers can do a big difference.
1. AIMP Music Player (Windows & Android)
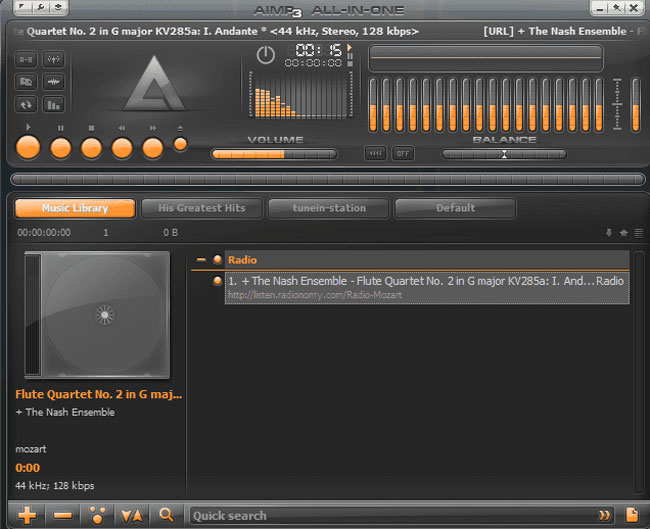
AIMP is a fully-fledged free audio normalizer designed with 32-bit audio processing quality and 20+ audio editing features, by which not only can you convert AudioCD to WAV, OGG, MP3, or WMA, etc. but you can grab any preferred sound from any audio device on your Windows and Mac.
To normalize video audio, you should click the tabs of Volume Normalization > DSP and normalize your audio by sliding the volume slider. In addition, you can make some relevant settings, for example, adjusting the volume level or the upper/lower threshold of the preamp.
2. MP3Gain (Windows & Mac)
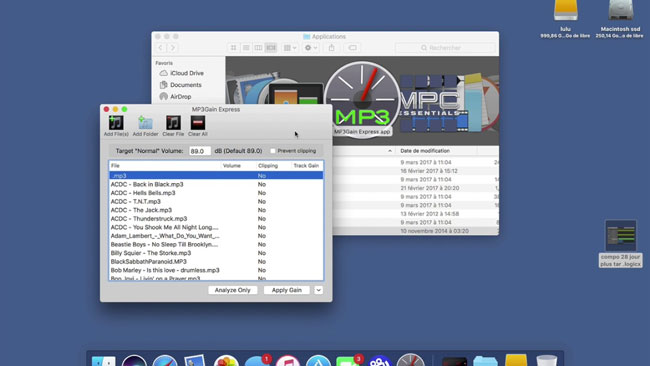
MP3Gain is a free audio normalization software for both Mac and Windows 10, which assists in analyzing MP3 audios and you can use it to normalize audio into both single & multiple files with the same perceived loudness. You can normalize your audio in videos.
To normalize video audio, two methods can work well, one is to select the Track Gain to make your audio thumbnails as a queue, afterward, pre-set the Target "Normalize" Volume, the other is click the signs of Down Arrow > Track Gain > Album Gain.
3. AudioMass (Online)
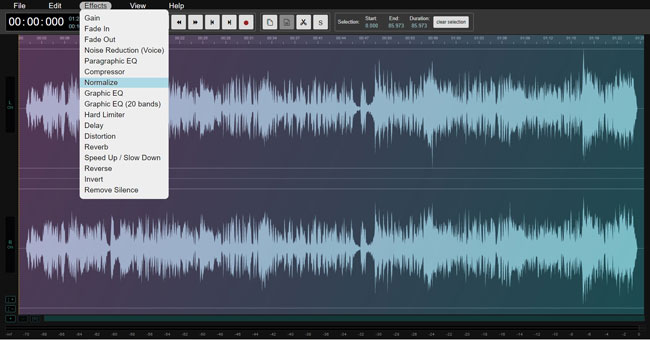
AudioMass is an open-source & web-based free audio and waveform editor and by which you can import MP3 or MP4 directly just by drag-n-drop. With AudioMass, you’re empowered to record, cut, trim, paste, distort, reverse, invert, or apply lots of advanced audio tools like frequency analyzer, spectrum analyzer, tempo tools, & ID3 tags, and more.
To normalize video audio online by using AudioMass, you should click on the File to apply the Normalize feature, and then click the File again to download your normalized audio.
Conclusion
That’s all sharing in today’s talk, wishing you’re able to normalize video audio with ease. By the way, if you want to edit the video after audio normalization such as trim, cut, merge, crop, convert, and accelerate, etc., better try AceMovi Video Editor, while if you think it’s troublesome to download software, the Video2Edit can be a good choice but you should keep in mind that the size of video files will be limited in 1GB. Surely, three pro audio normalizers have been listed in the third section that will make a difference in higher standard audio normalizing and editing.