
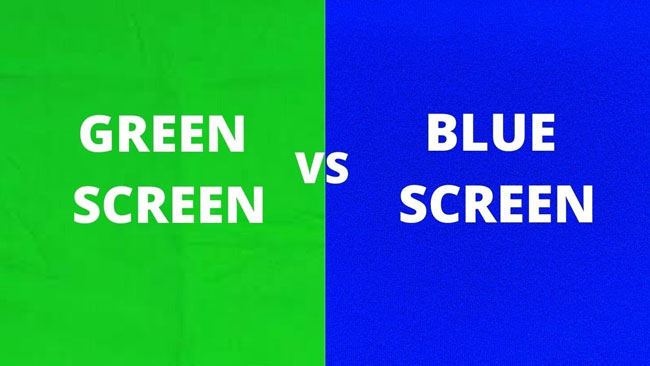
Almost all video content creators are familiar with a green screen because it is a layman’s thing. And for knowledge’s sake, nowadays, both blue and green screens are used in the film-making field deeply and widely. However, for most people, the blue screen is a thing of mystery, consequently, spiking the blue screen vs green screen debate.
So, what’s the difference between the blue screen and the green screen? Lies in quality? Layer? Or Color? You’ll have all the answers in today’s post! Additionally, we’ll be sharing with you the best blue screen and green screen video editor in the last section, let’s get started!
- FAQs - You May Be Interested in
- Comparison Chart - Differences of Blue Screen Vs Green Screen
- Best Blue & Green Screen Video Editor Operates on Windows 10 & Mac - AceMovi
- Lastly
1. FAQs Referring to Blue Screen & Green Screen
In this part, we’ll discuss the meaning of blue screen and green screen, and later, let’s see the ways to pull off (or DIY) them into reality.
What’s the Blue Screen?
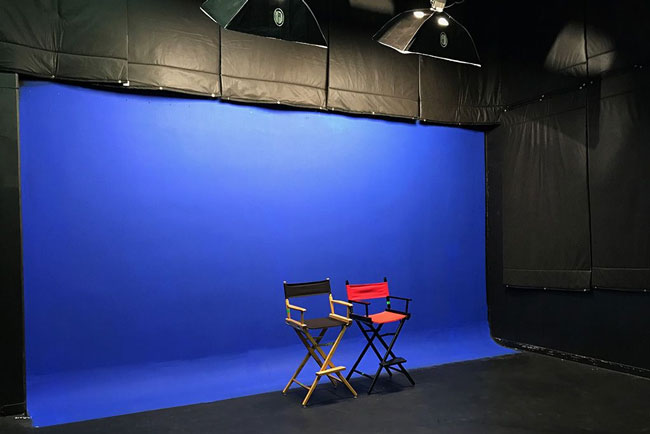
A blue screen is a one-colored blue background that is set behind an actor or in some cases color worn by an actor or adorned on an object when performing and later replaced with another background during post-production. Blue screen is a common screen used in filming nowadays. Using chroma-keying, it is possible to composite two pictures to form a specific color hue.
What’s the Green Screen?
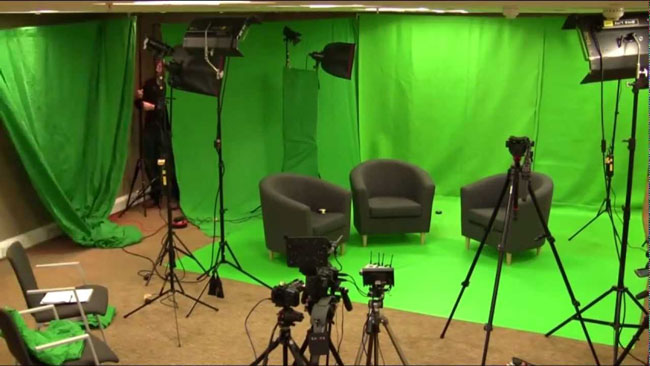
You just thought that the green screen was only used by the big directors from Hollywood? Surely not, you don’t have to be a big-shot movie creator, even local TV stations can make it easier. Normally, the green screen is a monochromatic green background set behind an actor or, in some cases color worn by an actor or adorned on an object when performing. Like the blue screen, visual manipulation occurs during post-production by which the actor can be masked out, removed, or rendered as another thing.
Let me give you an example, in the television weather forecast program, it’s easy to find that the sun, rains, clouds, and snows are moving in real-time behind the broadcaster, actually, this should attribute to the green screen technology.
Why Do We Shift to Use the Green Screen?
Green screens are gaining popularity as film production shifts to a digital post-production process. This is partly because digital cameras capture twice as much green as red or blue, which makes post-production easier. Another reason is that green screens require less light than blue screens because green screens reflect more light. And as we know that brighter brightness means less cost.
Additionally, green is often not seen in clothing, which means there are fewer problems in the post-production process. This is a problem with blue screen productions in the past actually. Best known for filming superman costumes in The Big Movie. The producer had to choose a different shade of blue to distinguish his suit from the blue screen. Later, Superman's costume was color corrected to be the right color for the movie. However, we can find that the blue screen effect is still plays important role in video-making. So choosing the blue screen or the green screen? Just comes down to your project demands.
How to DIY Blue & Green Video into Reality?
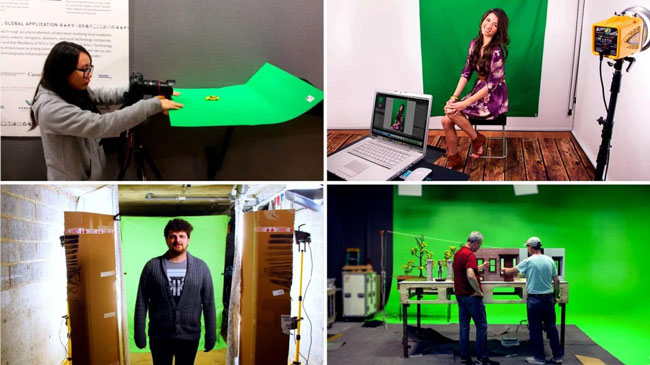
Step 1. Prepare your backdrop. And you should: (1) Green screen is better than the blue screen in this case because the blue screen will mix with your eyes (blue eyes) or cloth (blue eyes) and later some problems may occur; (2) Better standing near the backdrop; and (3) Do not make your shadow on the backdrop;
Step 2. Get your camera. You’re suggested to shoot video at 720p+ or higher and 24 fps higher, and you can use the iPhone or other digital camcorders but you should make sure that this device can import and export the blue and green screen video;
Step 3. Bright your background. The most important thing you should do is adjust the light, viz., ensure your background is bright enough because the worst enemy for green and blue screen video is shadowing.
2. Comparison Chart: Green Screen Vs Blue Screen
Before choosing any of the two for your film-making project, it is important to understand their differences. Below is a comparison table of the green screen vs blue screen in terms of their differences.
| Green Screen | Blue Screen | |
|---|---|---|
| Quality of Image | / | Blue screen possesses the slightest grain which enables the production of a quality image with a clean matte around the object's edge. |
| Layer | / | Blue screen has a low luminance than the green screen. Therefore, it is the best option when compositing objects into a dark scene. |
| Human Skin Tone | Green color is more distinct from the human skin tone the which makes editing easier. Also, any leftover green can blend into the daytime footage easily. | / |
| Light Requirements | Green screen requires less light than a blue screen. Consequently, it is the better option when working with a limited budget. | / |
| Color Spills | Green screen produces more color spills due to the higher reflection of the light in comparison with the blue screen. Consequently, it is important to avoid using a green screen when you need to composite an object into a dark scene since green produce more luminance. | / |
| Why & When Will We Use | Green screen is more suitable in less noise when keying out footage; Green screen is more suitable as it does not match any natural skin tone or hair color | Blue screen requires a lot of light (twice that of the green screen); Blue screen is ideal for footage with less spill compared with Green Screen; Blue screen is more suitable for replicating darker or nighttime conditions. |
3. AceMovi Video Editor: Best Blue and Green Screen Video Editor Operates for Both Mac & Windows 10
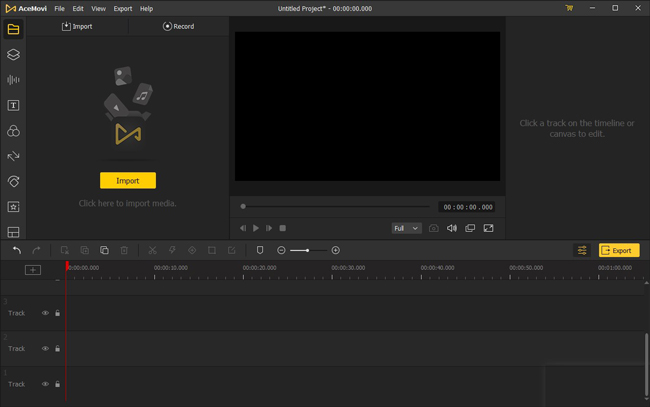
Making sure your video is of good quality in this age is paramount, and people use different video editors to achieve that. However, for the best video editing even for beginners, you can use TunesKit AceMovi Video Editor. The software is available on Windows and Mac, and it has what it takes to make editing seamless with its several features. Here are a few things you can do with AceMovi Video Editor.

TunesKit AceMovi Video Editor
Security Verified. 5,481,347 people have downloaded it.
- Easy-to-navigate layout
- Can export blue/green screen vidoes at HD
- Full of basic & advanced features
- Pro audio & music panels
- Most of video/audio/image formats propped
- Easy learn curve
- All-sided tutorials
- Cheap VIP subscription
Here are some of the basic tutorials on how to record, split, crop, and add freeze frame to your blue and screen videos with AceMovi Video Editor. Tip: In this post, you can download AceMovi's latest version on your Mac or Windows!
Record Your Green Screen & Blue Screen Videos
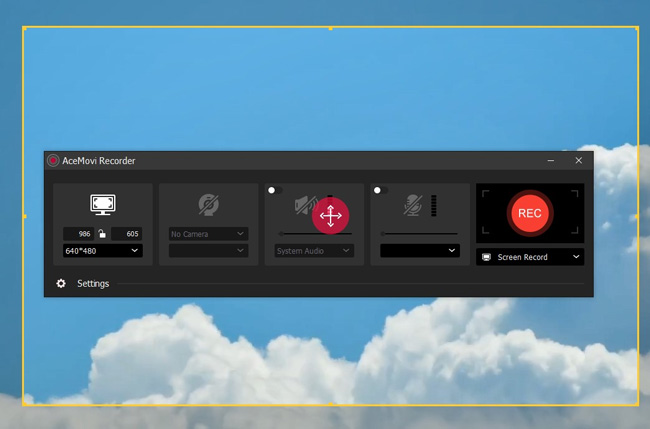
The latest version of AceMovi Video Editor (4.7.0) expanded the built-in AceMovi Recorder functionality - users can record videos even with a peripheral camera and then edit the videos straightly. To record your blue screen or green screen video, you should launch this tool > find the first item tray Media > click the Record > test your camera > then you’ll find the videos just shot will be automatically saved into the media area.
Split the Green & Blue Videos
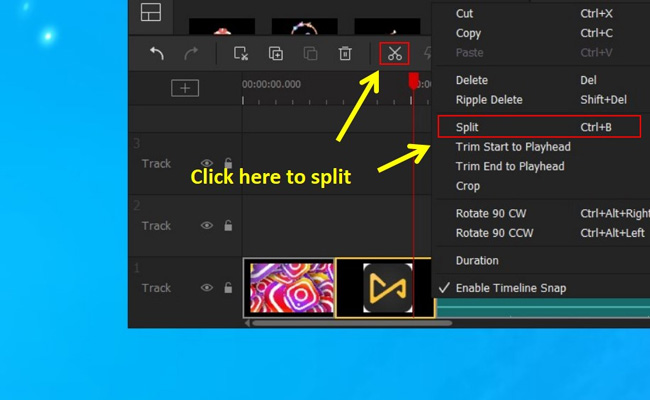
Mark the place you want the green or blue videos to split by moving the playhead (or red controlling line) to it. Then select the split button and use it to divide it into two parts will occur. Also, another option you can use is by right-clicking on the spot you want to split and then choosing the splitting option as indicated in the image below.
Crop the Green & Blue Videos
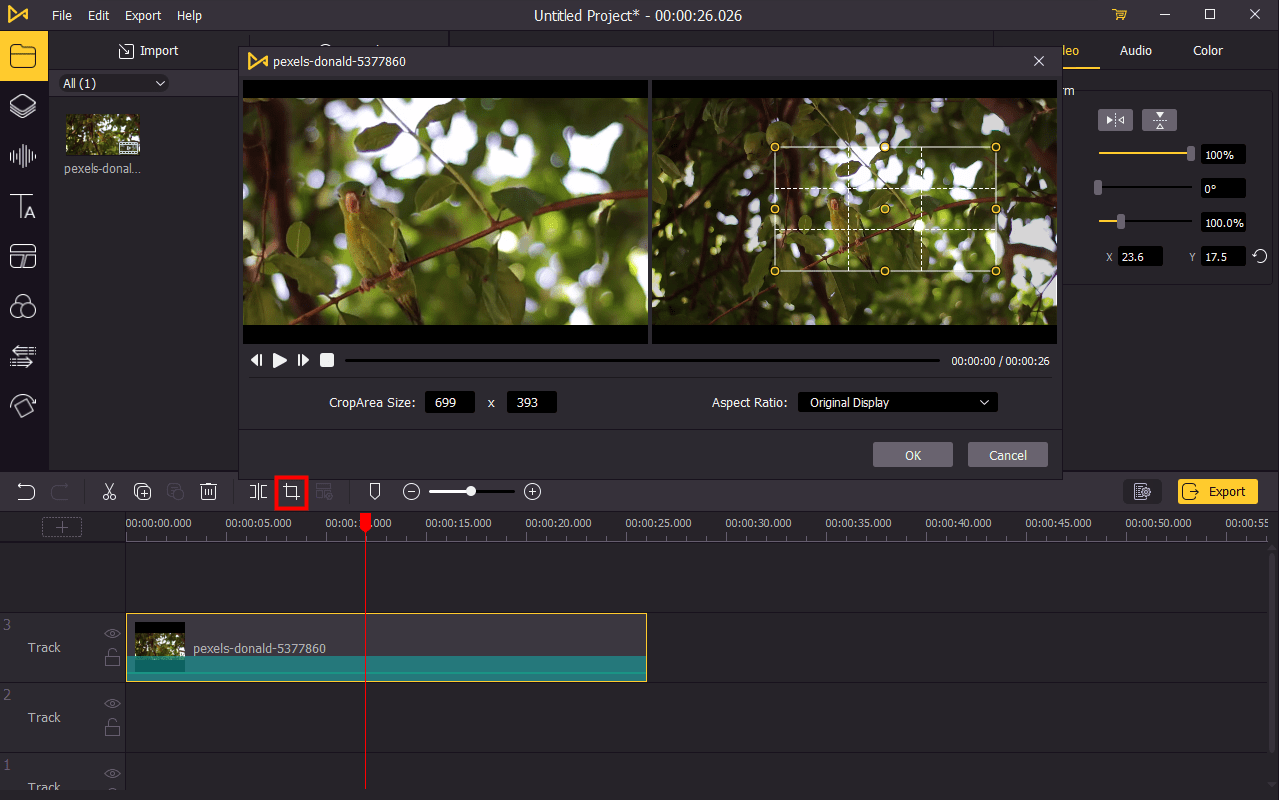
You can zoom in, zoom out, or crop a video by selecting the clip in the timeline and clicking on the crop option.
Two windows will show up after choosing the crop option. The right window is where you adjust, and the effect will reflect on the left window. Move the rectangle to adjust the width and height of the picture. Also, you can manually input the value as a ratio such as 9:16 or 16:9.
Add Freeze Frame to the Blue & Green Videos
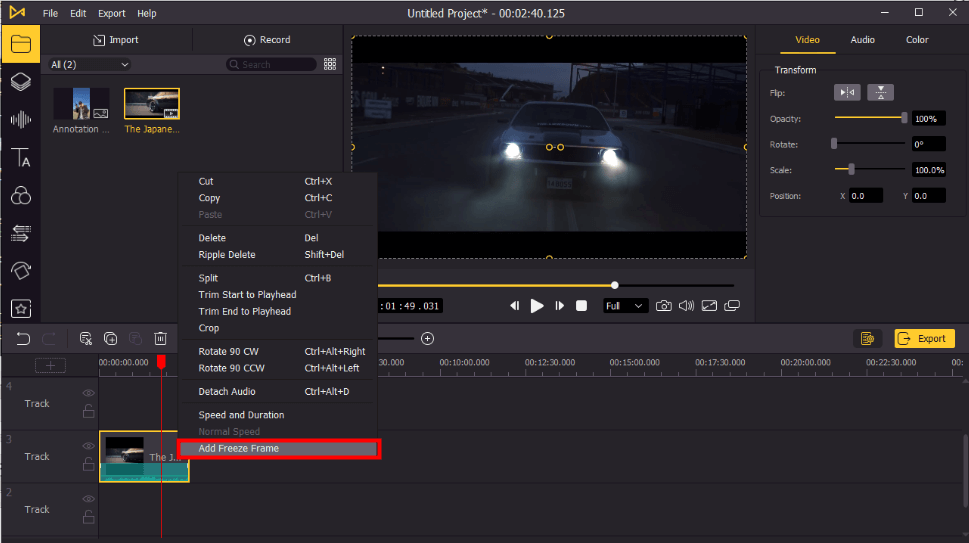
Right-click at the part you want to add a freeze-frame to and select the "add freeze" option. Five seconds is the duration for every freeze-frame you add. However, it is possible to edit the period. For example, you can change the time it takes to freeze by clicking the freeze frame option with an arrow facing down and selecting the time you want. Likewise, you can remove the whole freezing from that same option too.
4. Lastly
Before shooting a film, you need to decide on the background you want to use between a green or blue screen. The kind of film you are shooting will determine which one you use. Consequently, there is a need to understand the different things surrounding the green vs blue screen comparison. It also introduces editing your videos with TunesKit AceMovi Video Editor using the different features available to obtain better video content.