
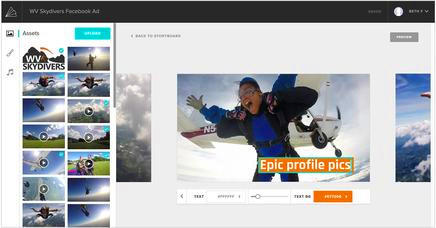
Instagram has gone through a remarkable change since its launch, and today, most of the brands use it as a promising platform to promote their products and launch new merchandise. It has become essential to choose the best video maker for Instagram and mix different content variants to create an intriguing output that attracts the audience instantly.
As you know, it is not an easy task to shoot and post videos. It is necessary to edit the shooting before posting it on Instagram. To do that, you need the best video maker for Instagram. Check out the list and select one that suits your requirements.
- Part 1: TunesKit AceMovi
- Part 2: A Color Story
- Part 3: Adobe Premiere Rush
- Part 4: Anchor
- Part 5: Animoto
- Part 6: BeeCut
- Part 7: FlipaClip
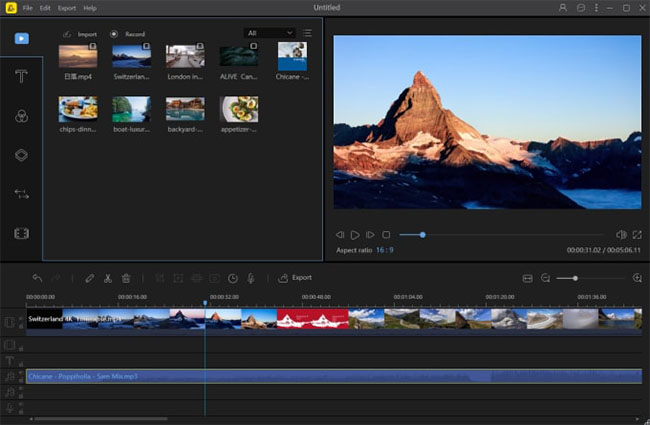
Top 1. TunesKit AceMovi
Make digital storytelling as you like and quickly with the help of the best video maker for Instagram. The TunesKit AceMovi Video Editor stands out from the rest because of the interface, the features, the support, and the advanced editing options.
You can unleash the magic of your creativity using the tools, while the software helps you preview the same in real-time. It is as simple as ABC. The robust algorithm and tools are the pillars behind the success of the software. Additionally, adding a plethora of editing tools further helped AceMovi hit the sweet spot for video editing for beginners and professionals. You will find options, such as rotate, flip, trim, crop, cut, adding audio, split and merge, and video speed control. In addition, you can further enhance the video by adding filters, transitions, PIP, and keyframing.
Guide to Use TunesKit AceMovi to Create Video for Instagram
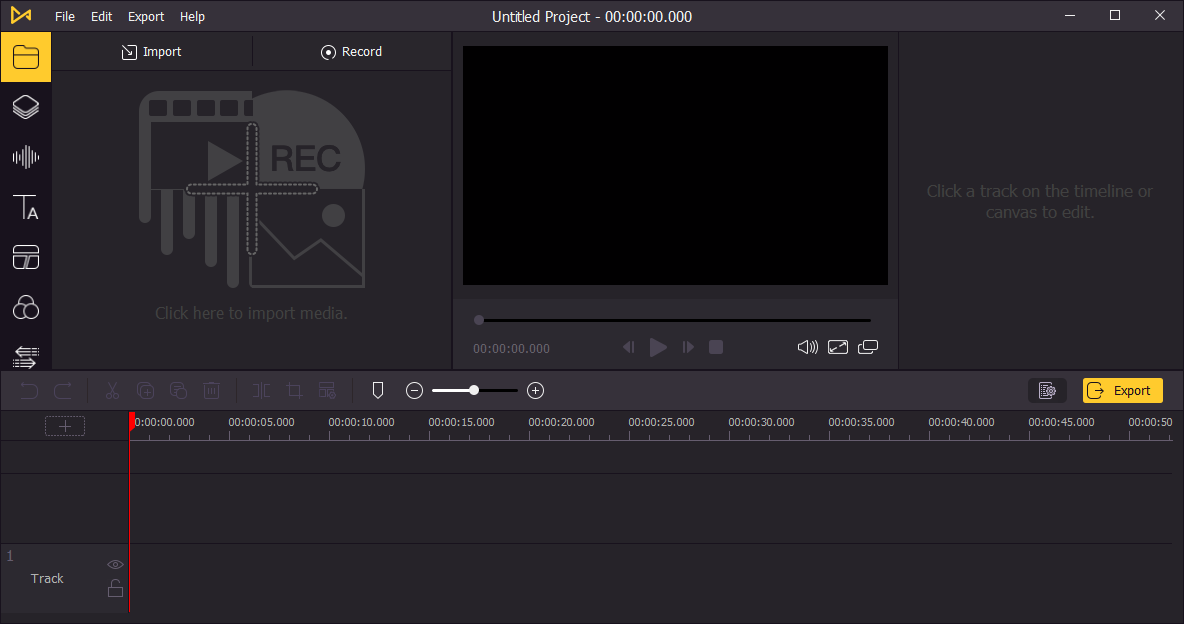
Step 1: Launch the Program
TunesKit AceMovi is available in the free version. You can install it by visiting the website. Do ensure to opt for the appropriate version. The free version leaves a watermark on the final product. You can avoid it by registering the product. First, click on the "Help" option and select "Register." Next, enter the product key/license sent to your registered email.
Step 2: Add Media Files
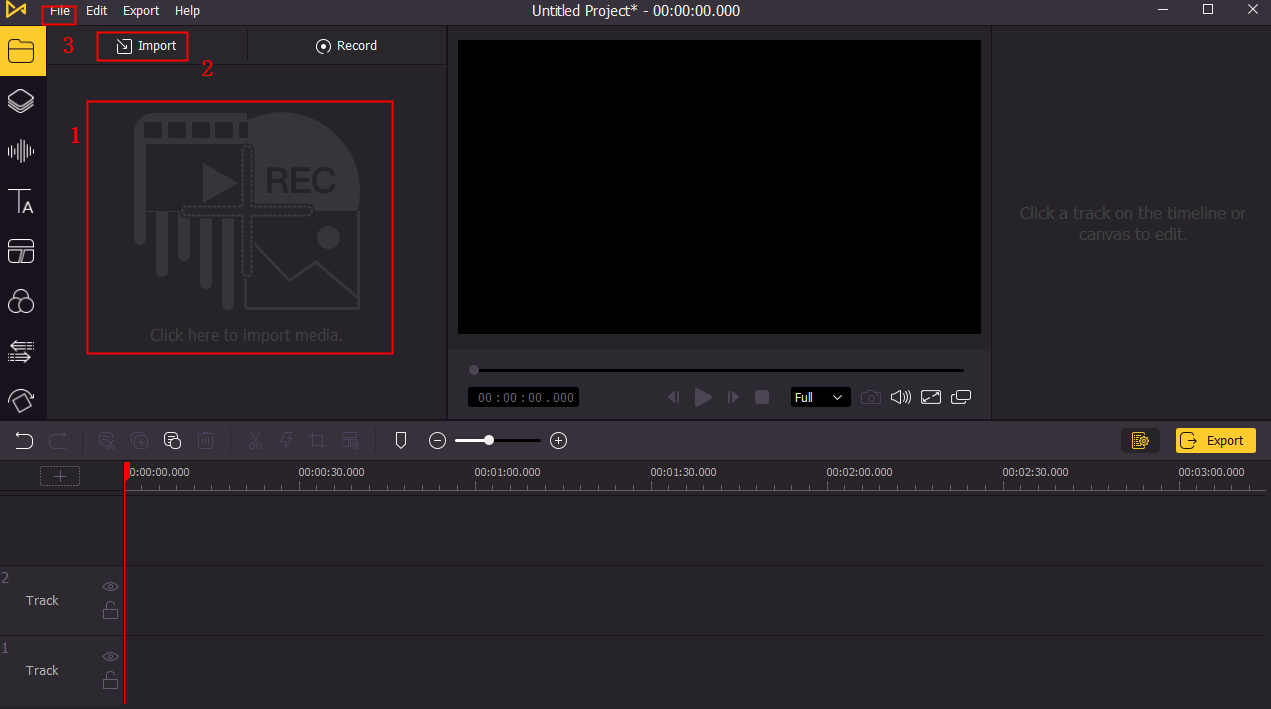
Use the "Import" button to add media files from your computer. It can be videos, pictures, and audio files. You can also click the 'Record' button to initiate the recording process to record some tutorials.
Step 3: Edit Your Video
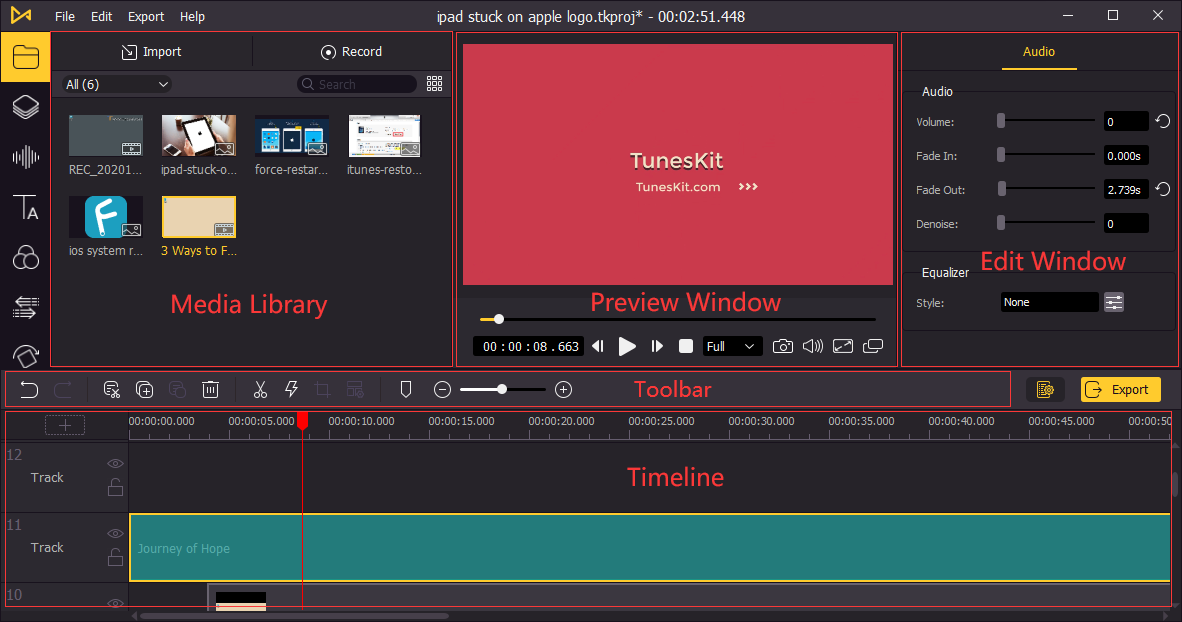
Now, add the files from the media library onto the "Timeline" section. Here, you do the editing of the required video. You can cut, crop, split, trim, rotate, merge,even change the video speed and resize Instagram video.
Alternatively, you can add an audio file and make changes, such as split, trim, detach, adjust volume, fade in/out, denoise, and use the equalizer. You can use the advanced features of adding filters, transitions, animations, split-screen, and keyframes by pressing the appropriate symbol from the left menu bar.
Step 4: Export Video
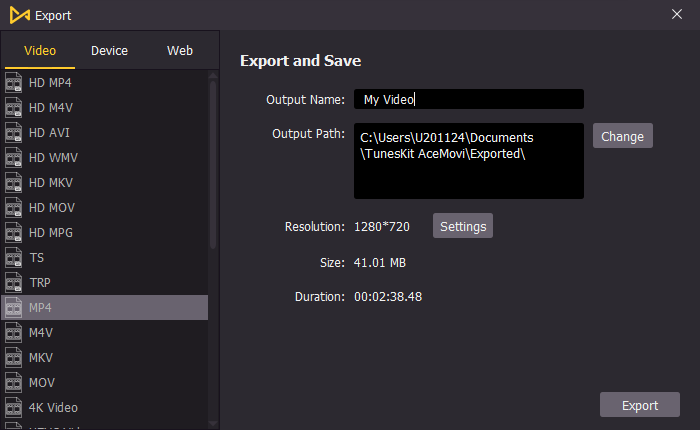
After completing the edits, you can save the file to your computer in any file format. It supports all the leading formats. For example, you can make the video play on a particular device alone. For this, you can select the "Device" tab and pick the device. Likewise, you can choose the "Web" tab to save the file on the computer and share it directly to Instagram.
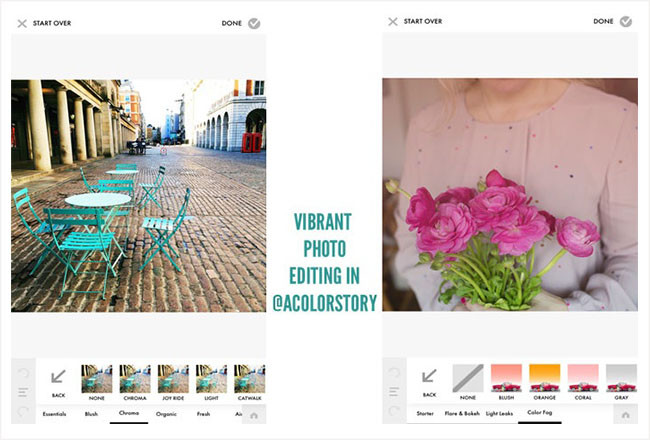
Top 2. A Color Story
A Color Story is the best editor maker for Instagram. It has a great collection of filters, and apply them to your video along with flares, fogs of color, grainy effect, and more.
Supported System:
iOS & Android
Pros:
- Saves edits as filters
- Enhances the color aesthetically
- Plenty of free filters
Cons:
- It does not contain a preview of adjustment of an effect
- Does not have bulk editing
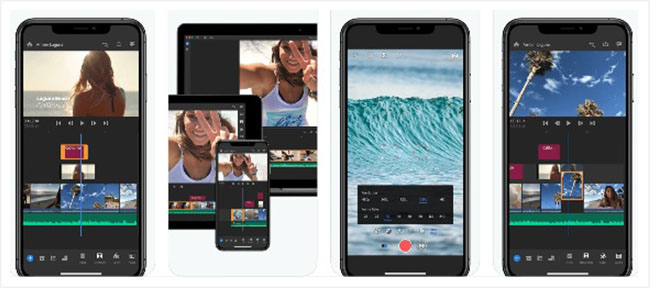
Top 3. Adobe Premiere Rush
You can consider the Adobe Premiere Rush as the best Instagram video maker app. You can shoot, edit, and share right from the app and sync the content to the cloud.
Supported System:
Windows, macOS, iOS & Android
Pros:
- Built-in automations
- Customizes text and titles
- Good as a standalone option
Cons:
- No search functionality
- Cannot extract audio
- Cannot slow or speed video
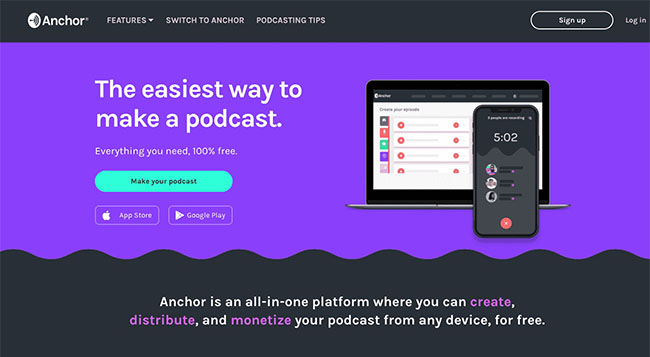
Top 4. Anchor
Anchor is a decent video maker for Instagram post. If podcasts are your thing, then the app is the right choice. You can record audio, trim clips, and make changes easily before sharing on Instagram and turn them into videos that you can share.
Supported System:
iOS & Android
Pros:
- Easy to create video clips from podcasts
- Excellent customer support
- Creates permalinks for clips
Cons:
- Requires upgrade to the recording setup
- Crashes at times
Top 5. Animoto
Animoto video maker for Instagram with music helps you create beautiful videos. If you have several pictures, you can create an excellent video by bringing them all together. You can add music and make edits before posting.
Supported System:
iOS & Android
Pros:
- The free version provides complete access
- Plenty of character spacing for captions
- Great customer support
Cons:
- Watermark on the final video at the end
- Little buggy
Top 6. BeeCut
BeeCut video maker is suitable for beginners. So, if you are a beginner and do not need advanced features, this is the app. You can add filters, transitions, rotate, crop, and create slideshows with still images.
Supported System:
Mac & iOS
Pros:
- Creates 1080p videos
- Basic editing tools
- Can add or remove intros and outros
Cons:
- Exporting takes time
- Crashes when working with 1080p videos
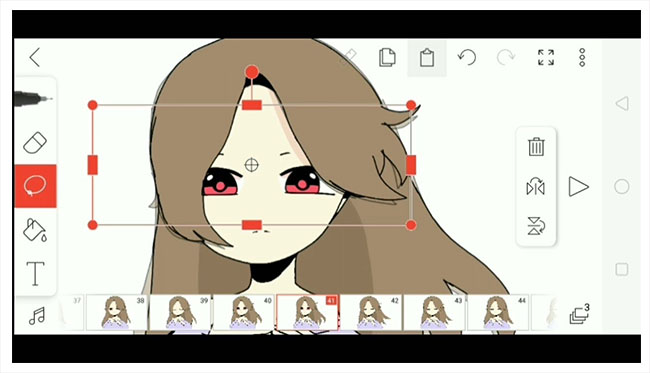
Top 7. FlipaClip
FlipaClip is another fun-loving and best video maker for Instagram. It provides all the tools for pro animators and helps those who are new. You can design, add music, and customize. You can use real-world pictures and videos as backgrounds.
Supported System:
Android
Pros:
- Creates basic animated videos possible
- Offers assistance to new animators
- It helps improve skill overtime
Cons:
- Not for professionals
- Limited features in the free version
- Difficult to compare frames
Conclusion
The best video maker for Instagram depends on your requirement and budget. You should also consider the type of content you would be creating and the target audience. You can choose a standalone editor or an all-in-one program. Of course, you can also pick those that offer advanced features, such as stop-motion, timelapse, animations, captions, and more.