
looking to improve the quality of your video for better storytelling, or try to create eye-catching posts for your social media? Well, there are so many strategies you can achieve that, and some of the frequently used ones cover applying VFX, adding background songs, and spicing it up with a black or white border.
You have probably seen videos with borders or frames on YouTube or Instagram and wondered, how do that? If that has been itching for you, I must say you are in the right place. This article will feature 5 easy ways of guiding you to add a border to a video. It all starts here!

- How to Add a Border to a Video in AceMovi for PC

- How to Add Padding to Videos with Typito Online
- How to Add Black Bar to Videos by KineMater on iPhone/Android
- Alternative Ways of Adding Border to Your Video for PC (Premiere Pro & Final Cut Pro)
- The Bottom Line
Why Add Border to a Video
Besides adding a sense of style to your videos, adding a border helps one change the ratio aspect of the video and somewhat deliver and create an air of consistency to the video. It is essential that your video post have a uniform ratio aspect for a uniform outlook.
Another reason is to attract a larger audience to your Vlog or social media portfolio. These are the main reasons why many video content creators have been adding borders to their videos. If you would like to incorporate a new idea of adding frames to your videos, then we have just the perfect tools for you! Check them out!
AceMovi – An User-Friendly Video Editor to Add Border to Video on PC
Adding a border to a video is pretty straightforward, but it is easy if you have the right video editing software - AceMovi Video Editor. And while different software offers distinct video editing functions, we would like to introduce you such a dedicated and fully-featured tool that will help you add a border to a video without much trouble.
AceMovi is an all-powerful and easy-to-use video editing program for beginners and professionals. Unlike most video editors, it has a super easy learning curve, and therefore you can create stunning videos for your project without advanced technical know-how.
The program is precisely designed to help you unleash your imagination and build your video editing skills. Being a fully-featured toolkit, AceMovi comes with a surfeit of video editing functions that allow you to trim, cut, split, reverse, crop, rotate, flip, merge, detach audio, record screen, add text, etc. More importantly, the trial version is 100% safe and easy to download.

TunesKit AceMovi Video Editor
Security Verified. 8,277,015 people have downloaded it.
- Add different types, shapes, and colors of the border for your storytelling
- Edit borders with The Cropper, Resizer, and Customizer
- Stickers and texts abound
- Supports the majority of formats like MP4, WMV, AVI, M4V, etc.
- The trial and full version operates on both Windows and Mac
- Easy-to-manipulate interface
Pros:
- You need to upgrade to get the watermark-free service
Cons:
How to Add Border to Video Using AceMovi
You must click here to download and install AceMovi Video Editor for video editing, making, and sharing. It’s advised to download the latest version with up-to-date features.
Import Clips
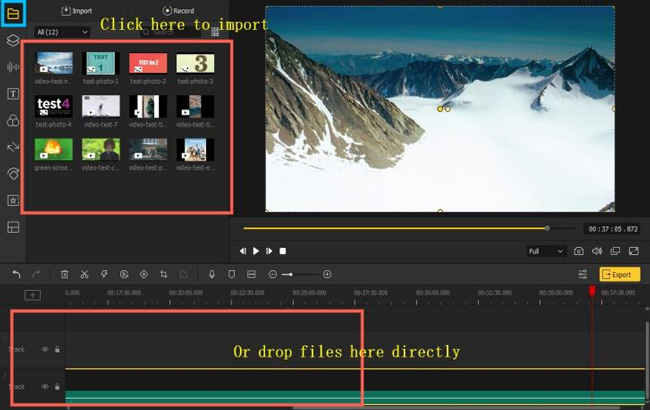
Import the video footage you want to add a border to AceMovi using the Import option.
Now, time to import your videos. Here the drag-n-drop will be quicker, or you can choose to go to Menu > File > Import Media > Add to Timeline.
Begin to Add Border to Video
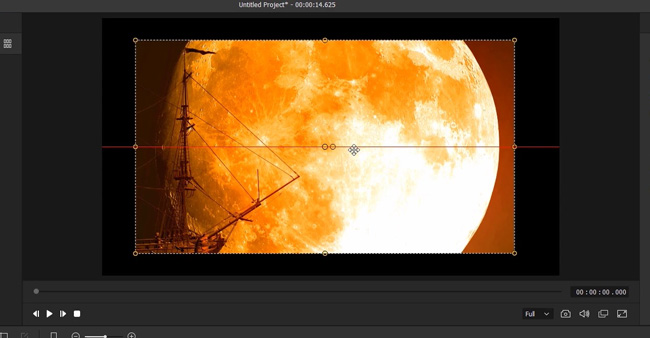
Next, drag the video on the timeline. Go to the Preview window and scale down the size of your video. You can drag it around until you get what you want.
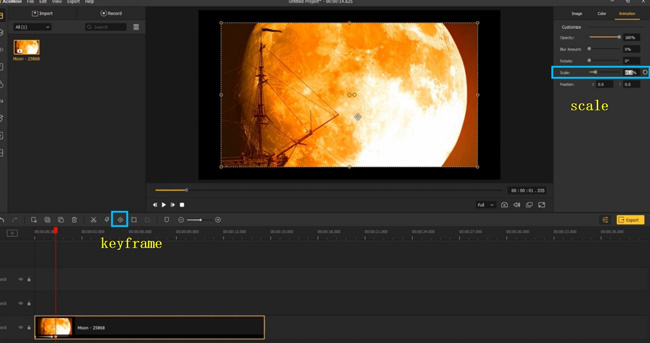
A feature related to adding borders to a video is to use the keyframe for achieving a smoother animation. Scale down the size to about 85% under the animation option. And this effect brings your video a cinematic air.
Edit All Borders with Keyframes
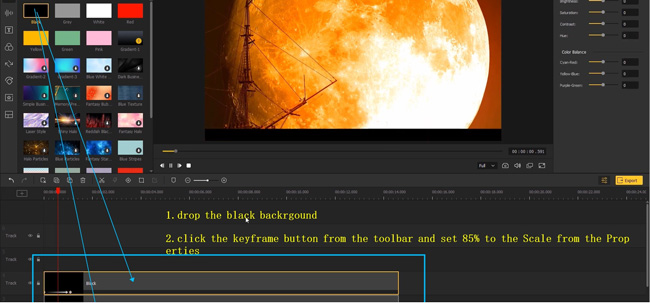
Go to the Resource option, select a dark background and drag it to the timeline. Then move your eyes to the video preview and drag the background upwards until it disappears. Now click the start of the clip and add a keyframe.
Move several frames forward and add another one. Scale up the size of the background. Lastly, repeat the same steps to the bottom edge. Once complete, hit the Export button to save the video on your computer.
Typito - How to Add Padding/Border to Video Online
Want to add borders to the top or the bottom of your video to create an eye-catching effect? Typito supports users to select from fixed aspect ratios with a border or edit their video with customized padding.
When it comes to the subscriptions of Typito. It is free to edit 5 mins or less project duration, 30 mins or less export duration, and 250MB storage. If you want to remove the export watermark, go to buy the Solo service or the Pro service. Now, here is the guide of how to add a border to your video with Typito.
Find Typito and Import Media
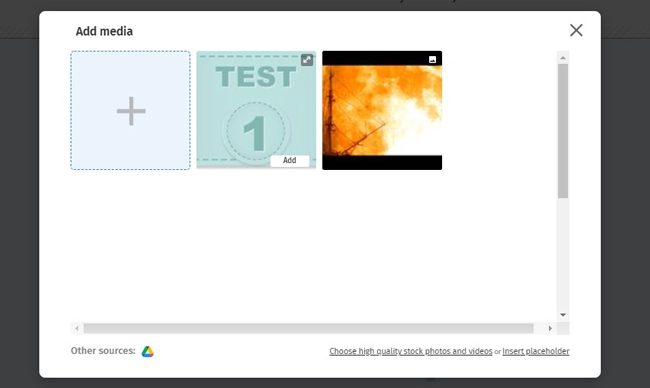
On the trial version, you need to register as other online video editors. See that Add Media plate? Click the + icon and wait for a short while.
Commence Adding a Border to Video
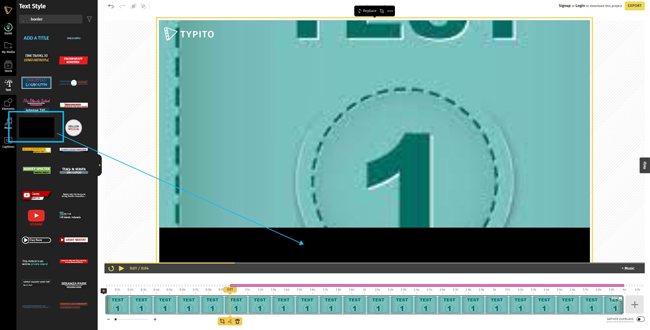
Typito comes with a plethora of text templates and music resources. You can click your wanted text style, then resize its scale on the interface and delete the content to make it looks more standard.
KineMaster - How to Add Black Bar/Border to Videos on Mobile Phones
If you are looking for an Android or iPhone video editor that can help add a border on a video, then the KineMaster App is the perfect option for you. The app is super-advanced yet easy that you can use it to cut, splice, crop, and add special effects, images and stickers. It is also 100% safe and, most notably, easy to use. Scroll down to review the KineMaster tutorial!
Get KineMaster Application
Download and install the KineMaster App on your device. Launch the app, click on the + icon, and select the 1:1 ratio.
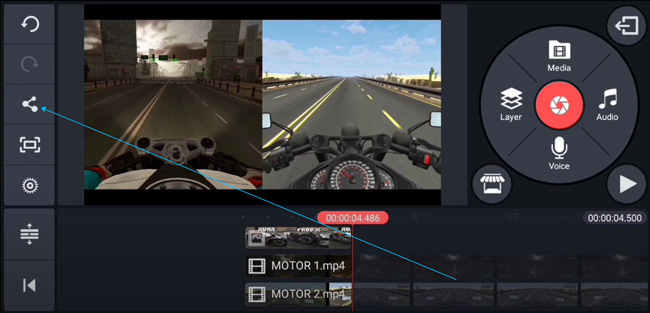
Begin to Add Black Bars to a Video
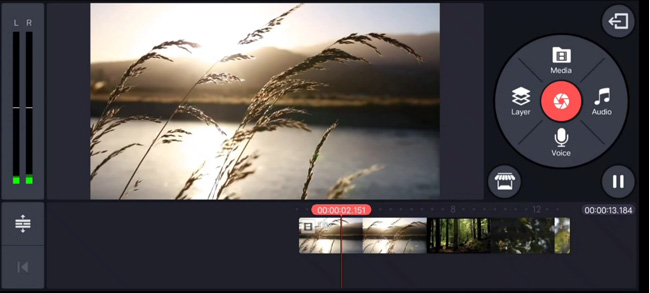
Click the Media Button and select the background. Then, increase the duration of the background by dragging it. Click on Layer, then select Media, and choose the video you want to add a border.
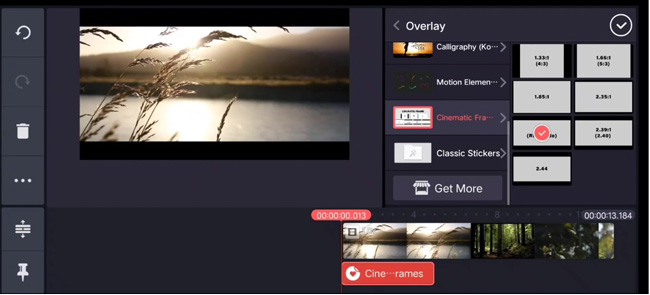
Select Split Screen> Full-screen mode and then drag to adjust the frame. Select Layer> Media and pick the wanted mode. Now, select Blending> Screen. Click on Split screen > Full-screen mode and then adjust the duration.
Showcase Your Masterpiece
Use the play button to preview the video. If it is okay, hit the Share button to save the video on your phone.
Premiere Pro/Final Cut Pro - Alternative Ways of Adding Border to Your Video on Computer
Apart from the AceMovi, is there any alternative software to add a border to videos? Well, there are! And in this section, we will skim through the 2 best AceMovi alternatives that you can use to add a border on videos for your project.
1. How to Add a Border to a Video in Premiere Pro
Adobe Premiere Pro is one of the most popular non-destructive video editing software available for Mac and Windows users. The Premiere Pro is a Hollywood-class video maker with advanced features such as VR editing, Motion graphics templates, multiple format support, transitions, video titling & graphics, etc.
Even though it does not have a dedicated function to add a border to videos, you can improvise to get the job done. Check the guide below!
Step 1. Launch Adobe Premiere Pro on your desktop. Drop your video file upon the interface;

Step 2. Select the rectangle tool behind the pen tool or use the ellipse tool. Move the cursor at the beginning of where you want the video border to start;
Step 3.Go to the preview and reduce the Fit to 25%. Now, draw the border and get it close to the edge. Draw a rectangle to take up the entire sequence. Find the selection tool and drag the shape to lock it into the top left;
Step 4. Switch the zoom to 75%. Go to each corner, grab each edge, and stretch it to adjust it perfectly. Go to Control > Shape > Appearance;
Step 5. Next, remove the fill and create a stroke. Adjust the stroke to about 80-100 to create the border. You can change the background color to your preference. Lastly, you can export the video in any format with a personalized aspect ratio and resolution.
2. How to Add a Border to a Video in Final Cut Pro
Here is another alternative method to add a border to your video. The Final Cut is a professional yet effective video tool that enables you to fine-tune video specifics to achieve top quality.
Besides adding borders to your videos, the app allows users to add plug-ins, perform Multi-cam editing, asset management, 360-degree VR editing, etc. That said, here is a quick tutorial that should help you get the job done!
Step 1. Launch the Final Cut Pro app on your Mac computer. Import the video you want to edit and create a border;
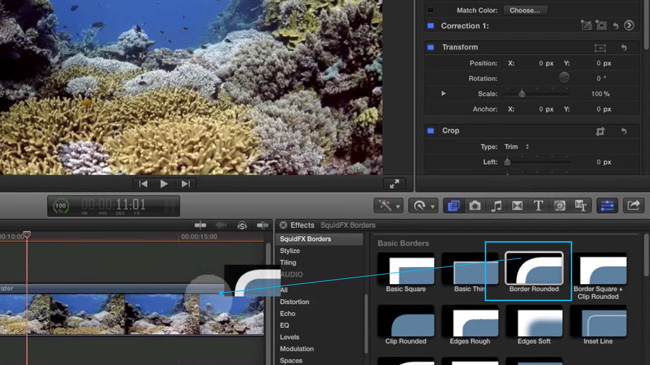
Step 2. Drag the video to the timeline at the bottom. Click on the Effects browser and type in Border, and hit enter;
Step 3. You will find a simple border effect. Drag it to the video timeline. You can use the border parameter to change the border's color, width, and mix;
Step 4. After editing, you can save the new video to your computer.
Lastly
You are now furnished with the 5 tips on how to add a border to a video. All that remains is for you to find the best video editing helper. However, we recommend trying the AceMovi, Typito, and KineMaster to add borders to your videos. Besides, you can turn to try the Adobe Premiere Pro and Final Cut Pro X.