
Go to YouTube, and you will find a galore of reaction videos. YouTubers react to movies, games, and much more. Reaction videos are exploding, and many people interested in making reaction videos look for the best reaction video maker. If you are looking for a top video editor, you have come to the right place. This article will cover the leading six reaction video makers.

When we say reaction video, it will a person commenting about a video. Like we said, that video could be of a movie, movie trailer, music video, and more. Reaction videos are primarily about hot or popular topics. The way to go about it is by recording the moment when you are reacting to something. Let's begin our list of the top 6 reaction video maker for PCs. Please note that these applications will be for your laptop or desktop.
- Part 1: TunesKit AceMovi
- Part 2: Filmora
- Part 3: Aiseesoft Video Converter Ultimate
- Part 4: OBS
- Part 5: BeeCut
- Part 6: VSDC
Top 1. TunesKit AceMovi
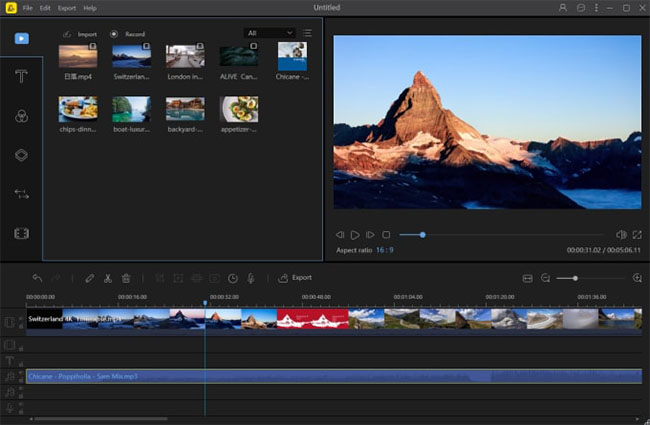
The first tool to use to create fantastic reaction videos is TunesKit AceMovi. This all-in-one tool lets you create stunning reaction videos in just a few steps. One good thing about TunesKit AceMovi is that it comes with a screen record, which will allow you to record your computer's screen along with the sound. The tool is loaded with impressive features, which you can use to enhance the reaction video. You can add animations, texts, filters, split-screen, add music, and do so much more. Even if you are a beginner, you can easily use TunesKit AceMovi because it is easy to use.
Top Features of TunesKit AceMovi:
- Lots of video editing features
- The interface is user-friendly
- Just a few simple steps to follow to make reaction video
- Tons of output options
- You can edit reaction videos as well
Now that you know about the top features of TunesKit AceMovi, here is the step-by-step guide that you need to follow to create a reaction video. But first, visit TunesKit AceMovi and download the correct version for your PC.
Step 1: Record the Reaction Video
Before editing the reaction video, you need to record a reaction video first. This step requires you to prepare some equipment to complete the recording. You can choose different cameras, microphones and lights according to your budget. The camera should be placed where your face is completely visible, and a little distance should be left to ensure that your face can still appear in the picture when you perform large movements. Test the best position of the microphone when recording the sound and try to ensure that the sound is as clear as possible during the recording. Now, you can start recording your reaction video.
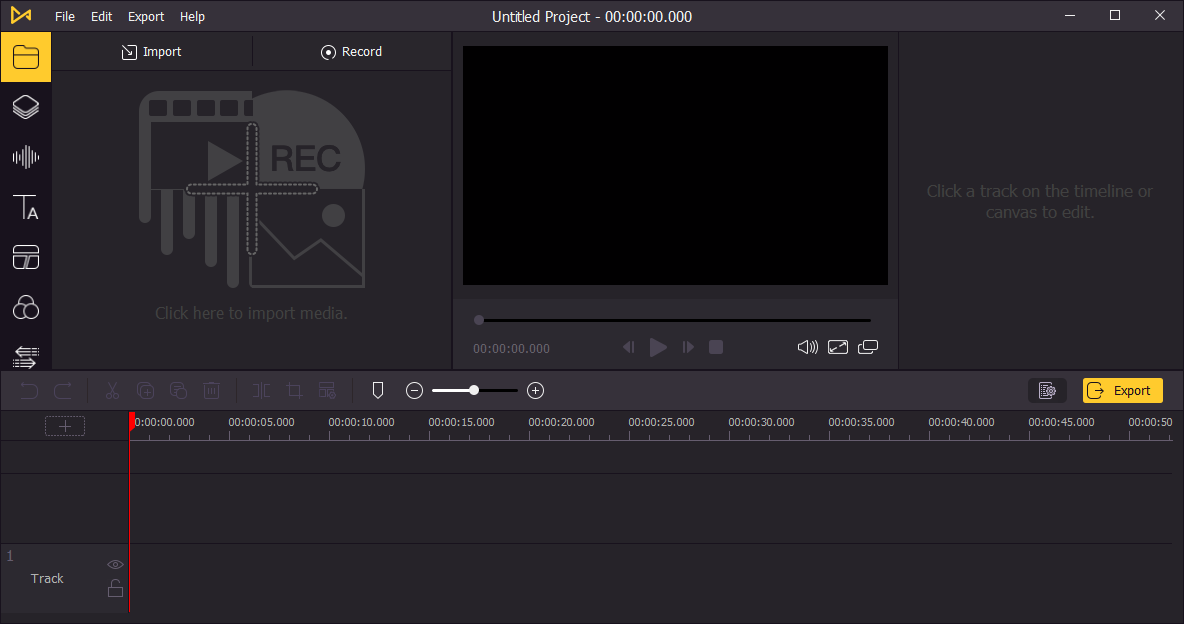
Step 2: Add Video Files
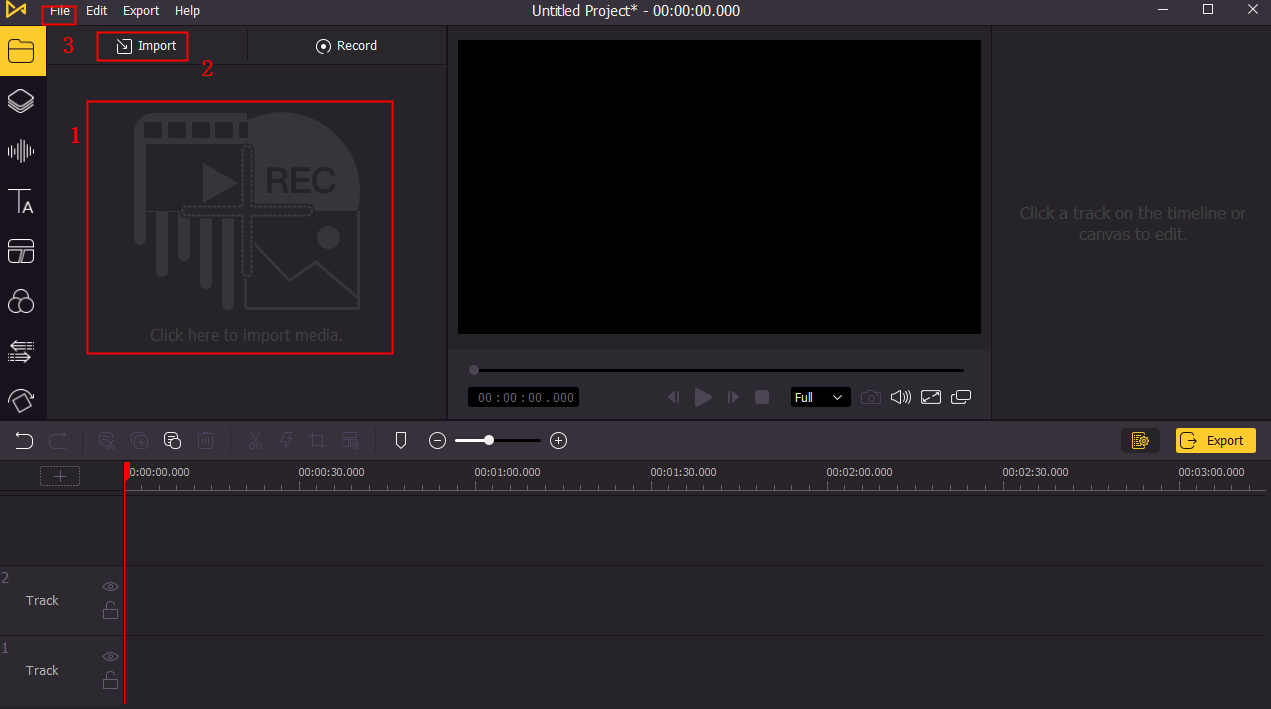
Launch the tool on your computer after downloading and installing it. Click on the Import option that you see on the home screen of TunesKit AceMovi. The Import option will be on the top. Alternatively, you may drag and drop the files as well.
Step 3: Change Video's Scale
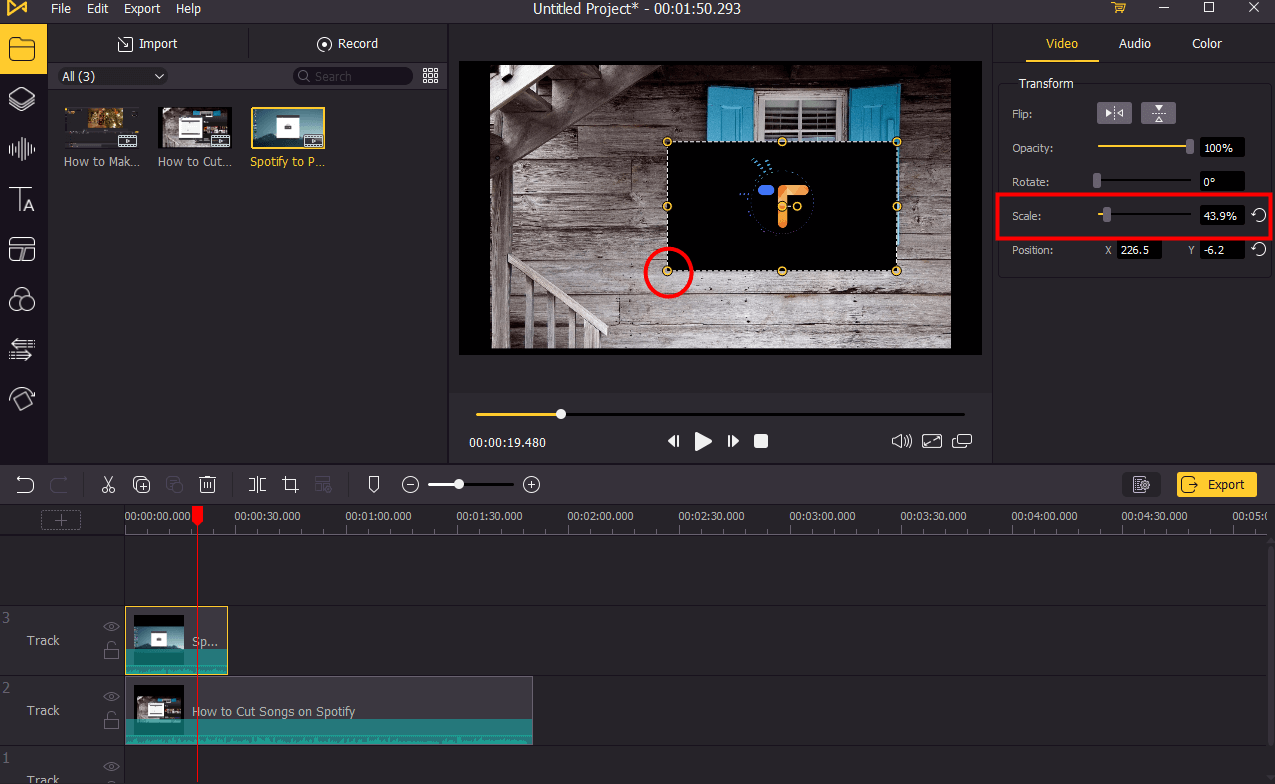
Now, add the video you are reacting to and the reaction video to the timeline. The timeline will be towards the bottom. The video you are reacting to should be below the reaction video. After that, you can scale down your reaction video.
Step 4: Adjust the Video's Position
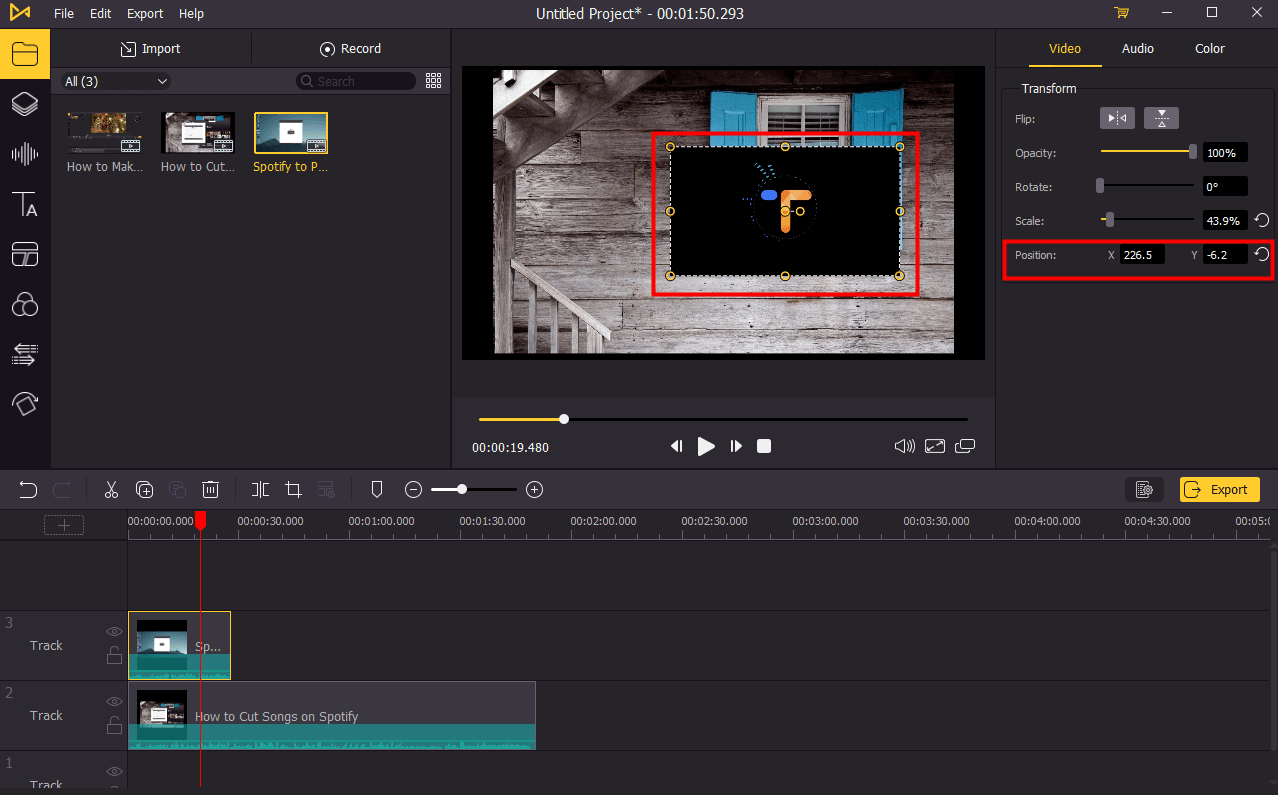
On the preview screen, click on the video, and then hold it. Now, you can drag it to change the video's position. You will see X and Y parameters; you can change the video by selecting the correct parameters.
Step 5: Export Your Video
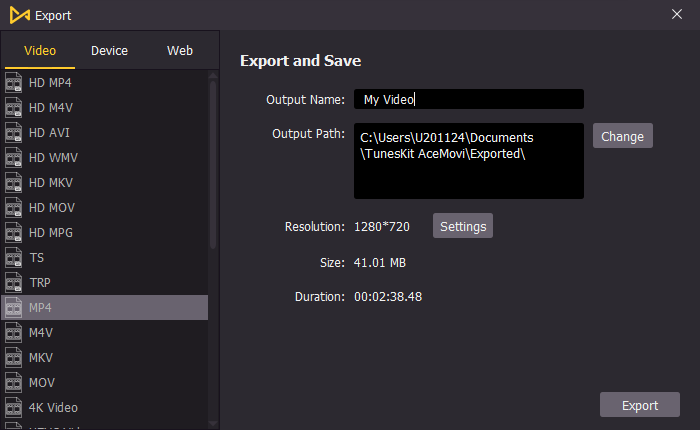
After the editing is done and you are satisfied with the changes, you can click on the Export option. This way, your video will be saved on your desktop.
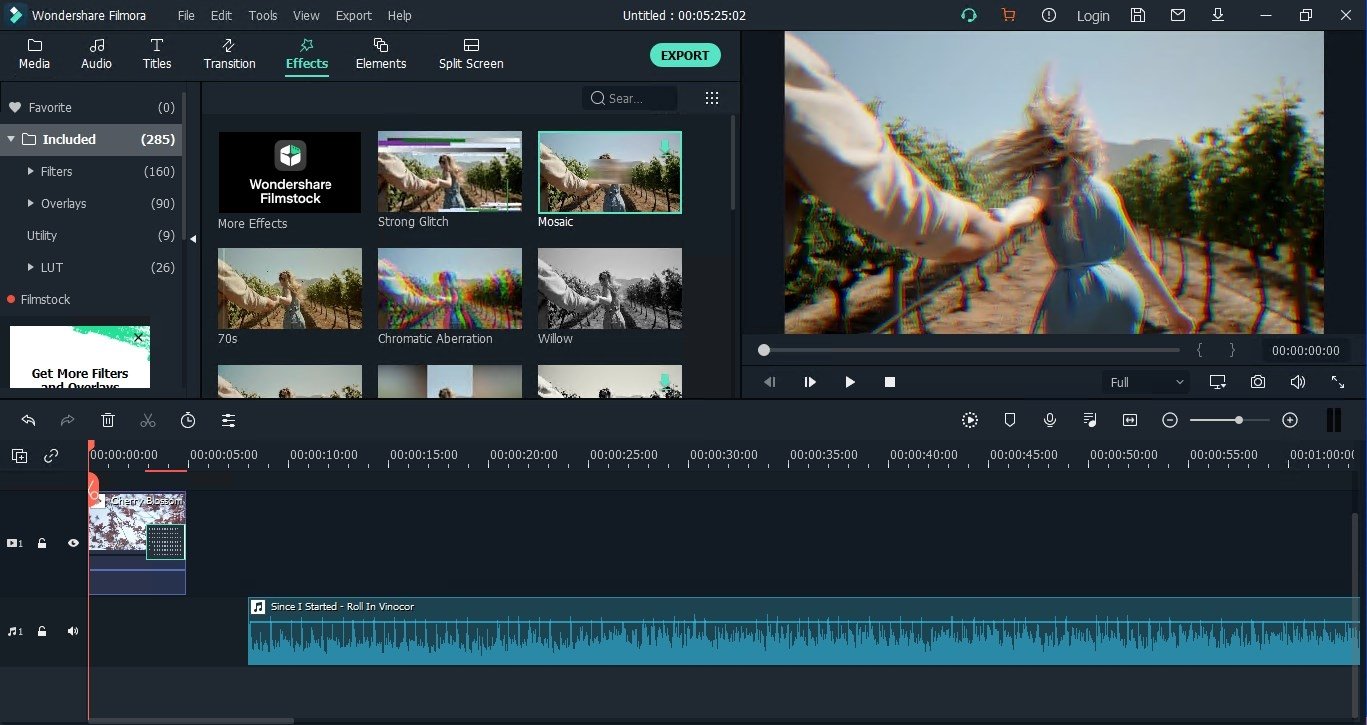
Top 2. Filmora
Another good reaction video maker for free is Filmora. This tool comes in free and paid versions. It also has a screen recorder, which will let you capture your screen along with the audio. Other than TunesKit AceMovi, you can try Filmora as your next option because it also has robust video editing tools. It's pretty popular among users and offers a professional video editing tool for everyone. Using this tool is more or less easy.
Pros:
- The screen recording option is good
- It is equipped with tons of video editing features
- Supports most of the video formats
Cons:
- The free version has limited video editing features
- Not suitable for beginners
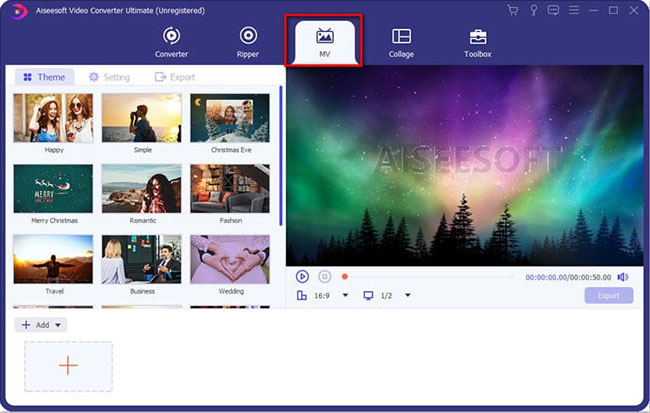
Top 3. Aiseesoft Video Converter Ultimate
Another good reaction video maker tool that you may try is Aiseesoft Video Converter Ultimate. It will not just let you create fantastic reaction videos by combing multiple videos but provides you with various video filters and themes. This tool is available for both Mac and Windows. And you can download Aiseesoft for free.
Pros:
- Retains good video quality
- Supports multiple video formats
- You can customize the output setting
Cons:
- Steep learning curve
- Very pricey
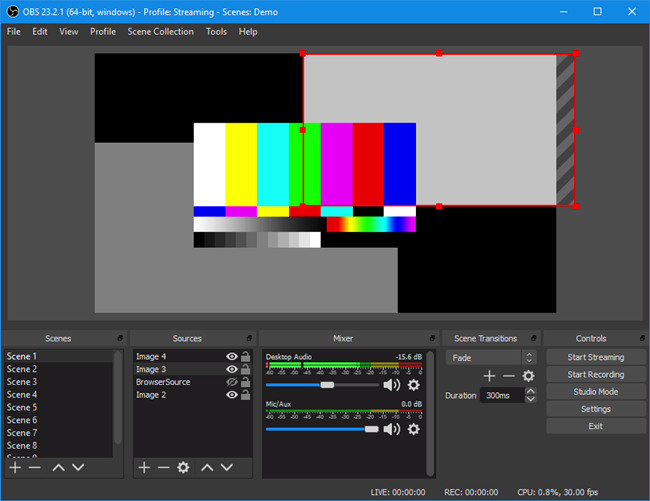
Top 4. OBS
If you only want a reaction video maker free of cost, here's OBS for you. It's available for Linux, Windows, and Mac, and you don't need to pay anything to use it. Technically speaking, it's screen casting software. You can record or create a live stream from your computer's screen. Just select the For Recording setting, and you will be able to create a reaction video without any hassle.
Pros:
- Free to use
- You can choose different formats
- Can capture HD resolution videos
Cons:
- Crashes quite often
- For advanced users only
Top 5. BeeCut
A professional video editing software that will let you create reaction videos easily is BeeCut. This tool enables you to adjust the size of the video, mask your video, position it, and much more. Not just this, you won't be disappointed with the editing features at all. You may add borders, animated stickers, overlays, and do much more!
Pros:
- User-friendly interface
- Multiple video editing features to choose from
- Built-in Chroma Key feature
Cons:
- Works slowly
- The paid subscription is expensive
Top 6. VSDC
If you are a Windows computer user, you should try using VSDC dedicated for Windows users. It's a free tool, which means you will not have to pay anything to keep using it. This robust video editing tool comes with many video editing features, enabling you to enhance the overall reaction video quality. It's a popular video editing tool.
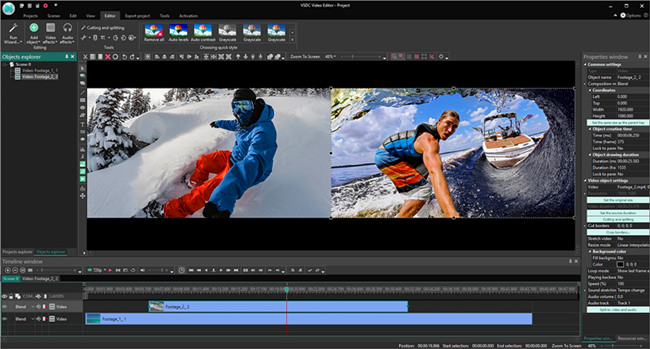
Pros:
- Many video editing features
- Visual effects are fantastic
- Custom colour correction
Cons:
- No pro editing features available
- Masking and voiceover tools aren't that great
Conclusion
Now you know about the top reaction video maker that you can go for. Most of the tools that we have shared can be downloaded on both Mac and Windows, but if you are looking for an all-in-one tool that will let you do way more than just creating reaction videos, we recommend using TunesKit AceMovi. It's reliable and has ample video editing features that you will surely like to work with.