
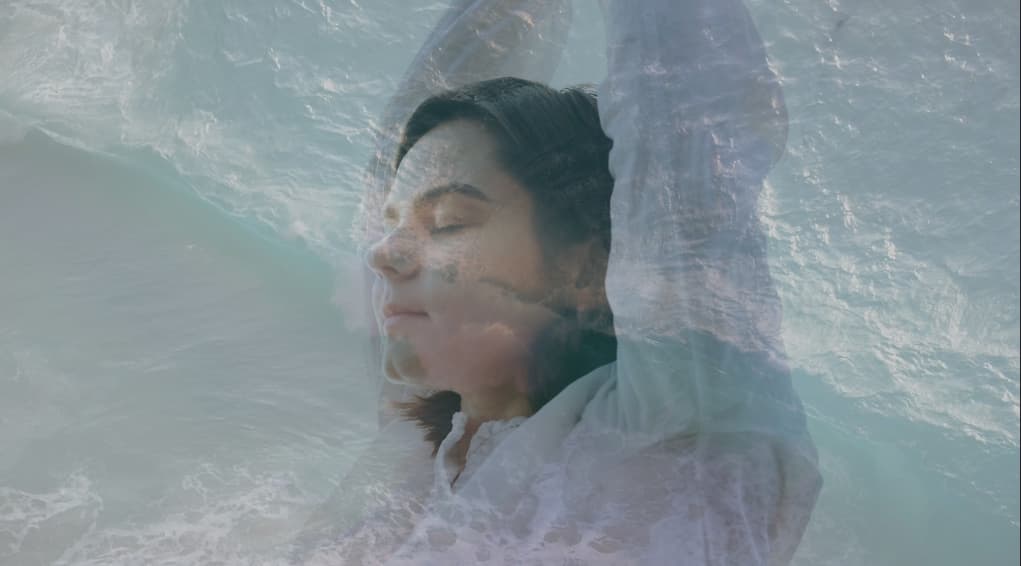
The double exposure effect is no doubt one of the coolest effects in video making, it’s not only fascinating but also super easy to achieve. If you’re running out of ideas to make your video look better, give double exposure a try. You might think this effect is something made by fancy cameras and professional editing technique since it’s usually used in TV series and films. But it’s actually much simple to achieve than it looks.
In this double exposure video tutorial, you’ll learn how to pull this effect off on your computer. Keep reading.
- Part 1. How to Do Double Exposure on A Video
- Part 2. Extra Tips to Beautify Your Double Exposure Video
- Part 3. Video Tutorial: How to Make A Double Exposure Video
How to Do Double Exposure on A Video
Before you get started, you’ll need to get a video editor on your computer that can do the double exposure effect. TunesKit AceMovi is one of the best video editing software that can fit the job. By changing the opacity of the video in AceMovi, you can easily create a double exposure video with only a few clicks.
TunesKit AceMovi Video Editor is a powerful video editor that provides multiple effects and transitions. It comes with a screen recorder which can record images as well as the sound coming out of your computer. As a well-established video editor, AceMovi is mounted with features like split screen, filters, animations, texts, and music library. The user-friendly interface comes with all the effects and tools you need to embellish your video. You can make a fancy effect such a double exposure by simply changing the opacity of the video.

TunesKit AceMovi Video Editor
Security Verified. 5,481,347 people have downloaded it.
- Basic and advanced features that make your video better
- Multiple filters, transitions, text, sound effects, music
- User-friendly interface
- Import as many photos or footage as you want
- Make A double exposure video with a few clicks
Next up, I'm going to show you how to do double exposure on a video in TunesKit AceMovi. Before you edit your video, make sure that you have already installed TunesKit AceMovi on your computer.
Add Media Files to TunesKit AceMovi
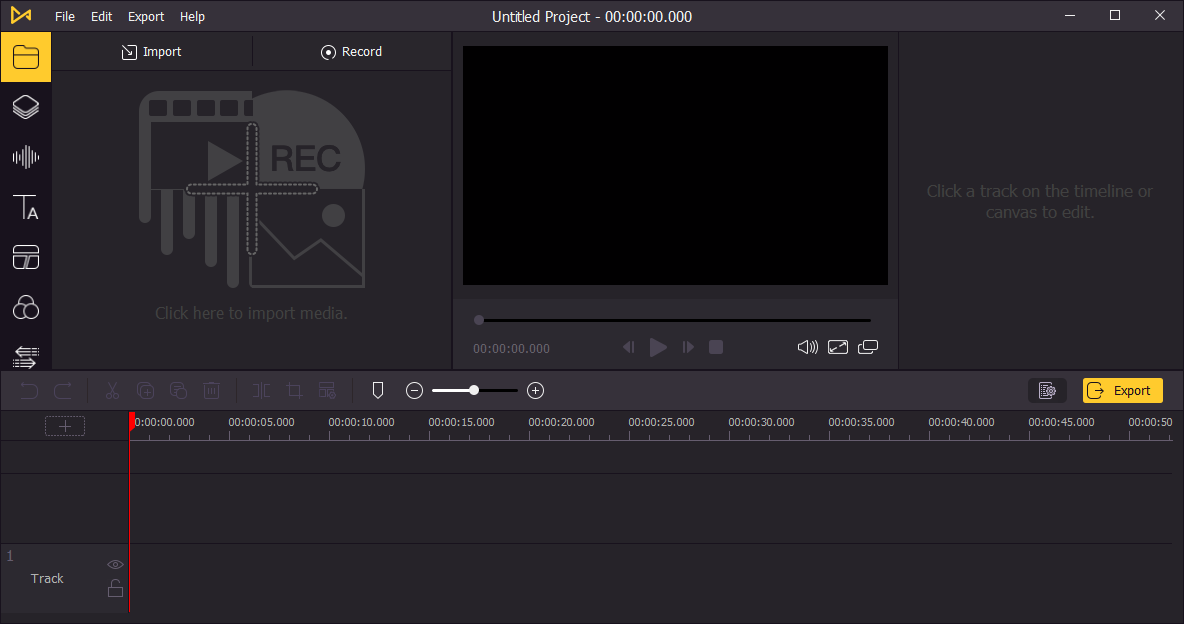
Open TunesKit AceMovi on your computer, then import the video files to the media box. You can click on the import button to upload or directly drag and drop the video files into the box.
Add Video to the Timeline
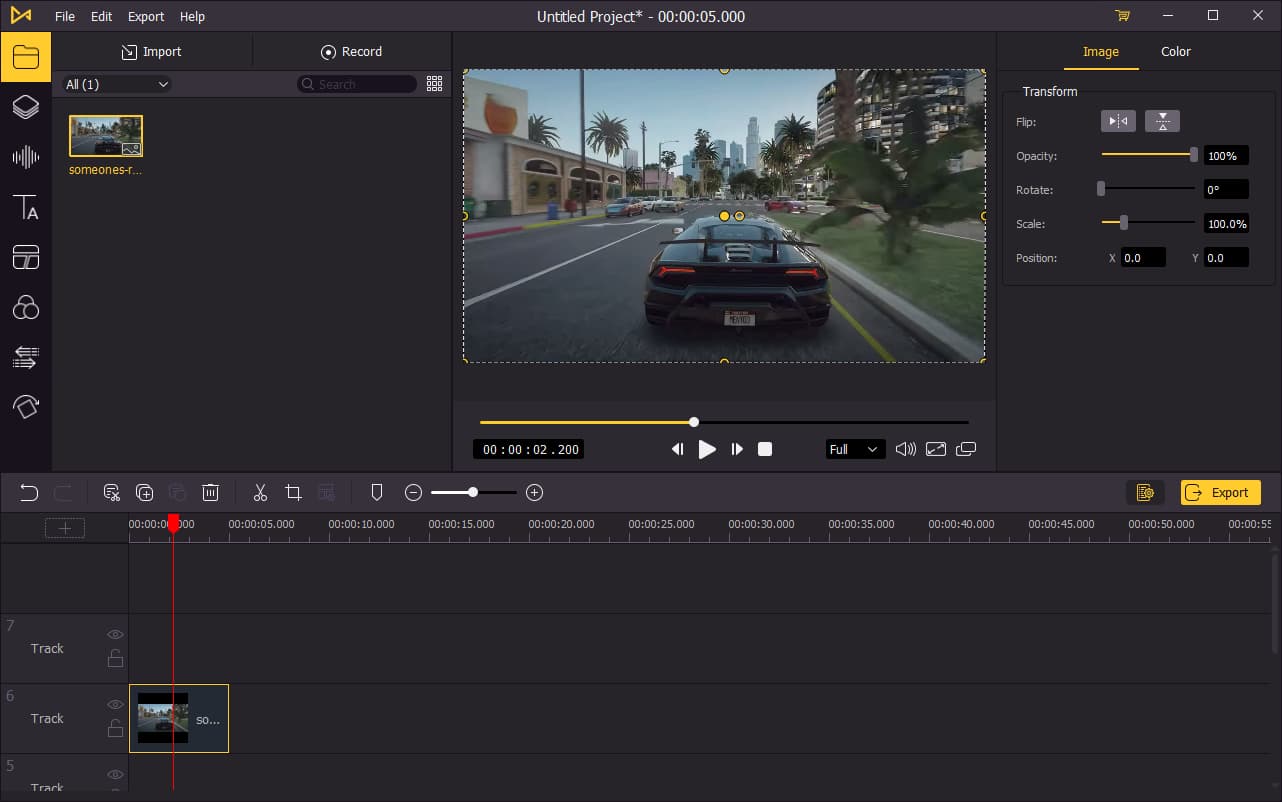
To add your video to the timeline, you can directly drag and drop them one by one. Or you can press Ctrl+A to select all the media files and drag them to the timeline. You may want to drag the slider above the timeline to zoom in/out the timeline so that you can edit your video more easily.
Create Double Exposure Effect
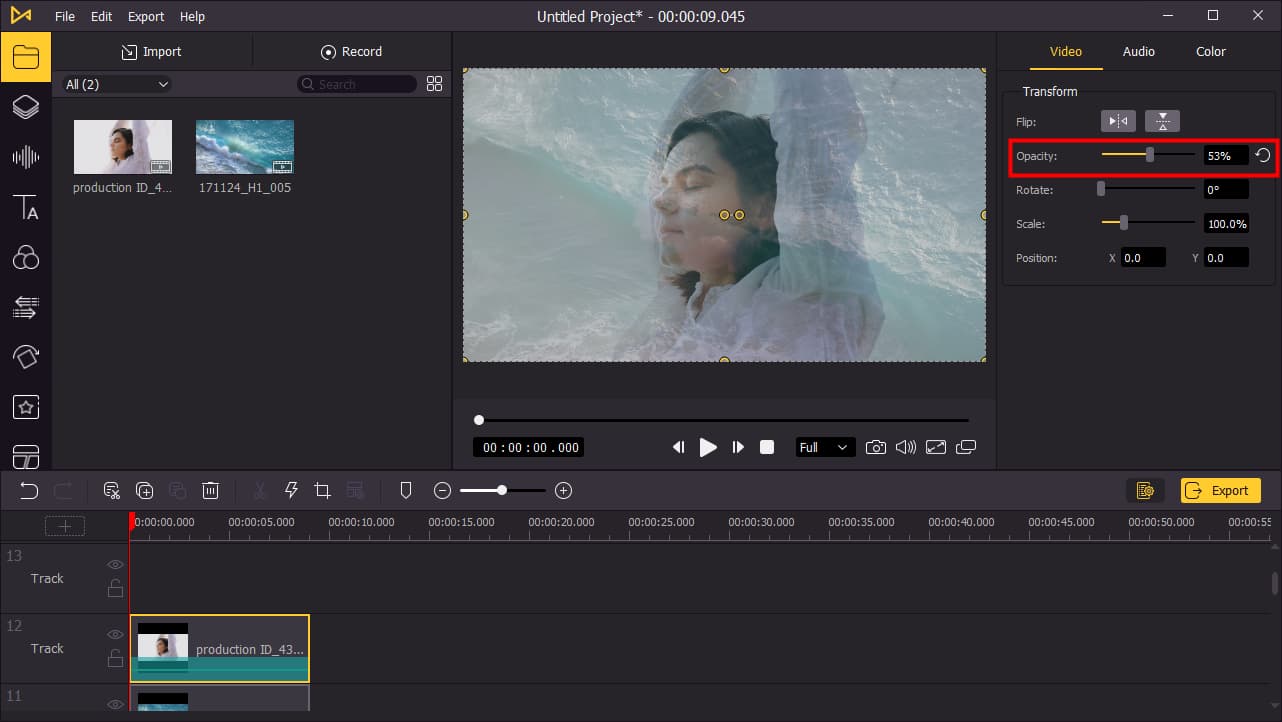
To make a double exposure effect, you'll need at least two video tracks on the timeline. Overlay another video above the first video, then click on the video on the top in the timeline.
Go to the top right panel. Under the Video tab, adjust the opacity to less than 100. You can drag the slider or type in a percentage to change the opacity. And now you've created a double exposure video.
Export Video
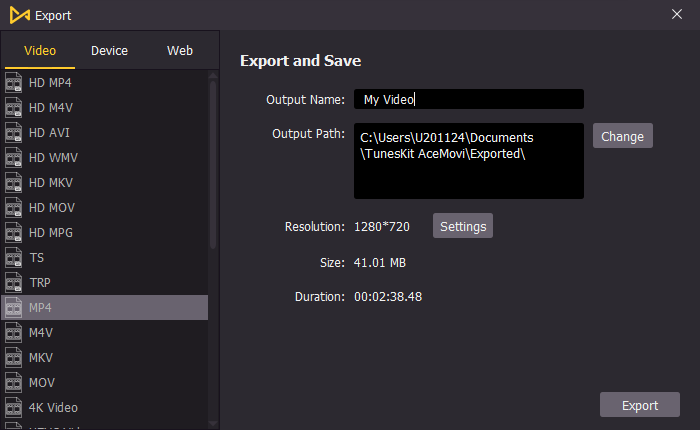
Once done editing your video, click the Export button on the middle left and export your video. Click the Settings, you'll be able to choose the output parameters. And by clicking the Change button, you can change the output location.
Extra Tips to Beautify Your Double Exposure Video
There're a few more features you can make use of in TunesKit AceMovi to make your double exposure video look even cooler. Here's the step-by-step tutorial.
Add Animated Text
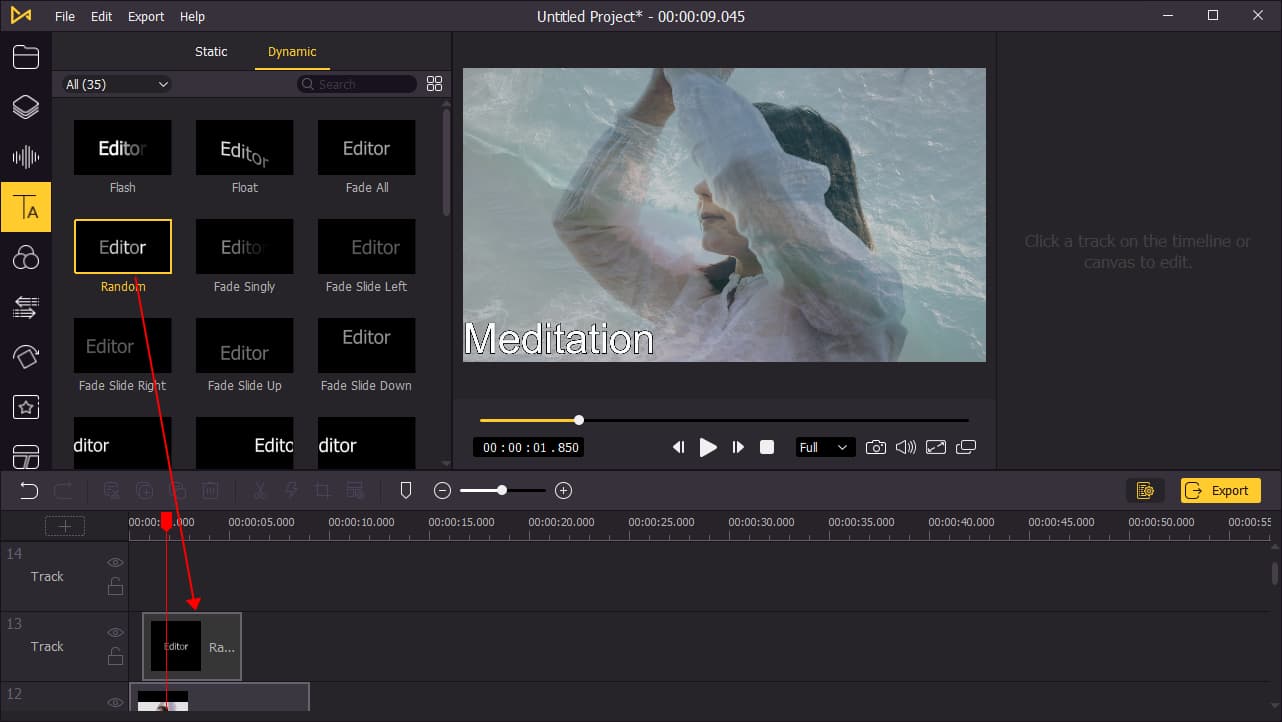
Go to Text > Dynamic and choose a text and add it to your video. Click on it on the timeline and go to the top right panel, you can edit the text, font and size there. On the preview window, you can drag in to change the position of the text.
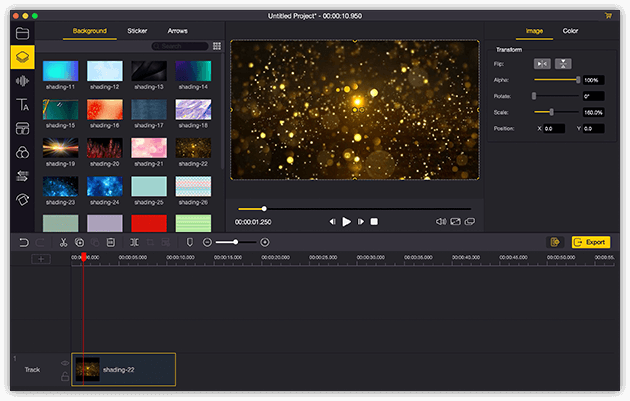
Add Filter to Change the Vibe
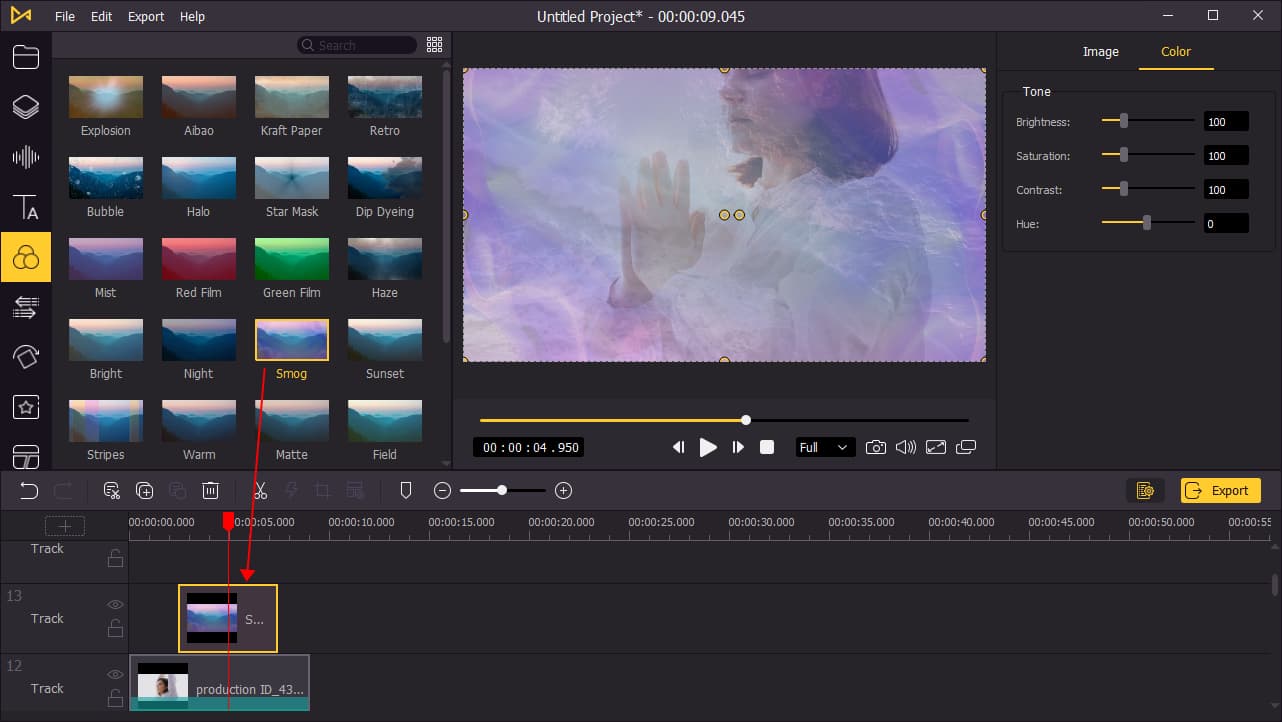
You can change the feel and style of your double exposure video by adding a filter. Go to the Filter box and drag a filter above the video track on the timeline, you can drag the filter track from the start or end to lengthen it.
On the top right panel, you can adjust the filter such as position, orientation, opacity and color. You can also go to the Transition box to add a transition to your filter.
Add Animations
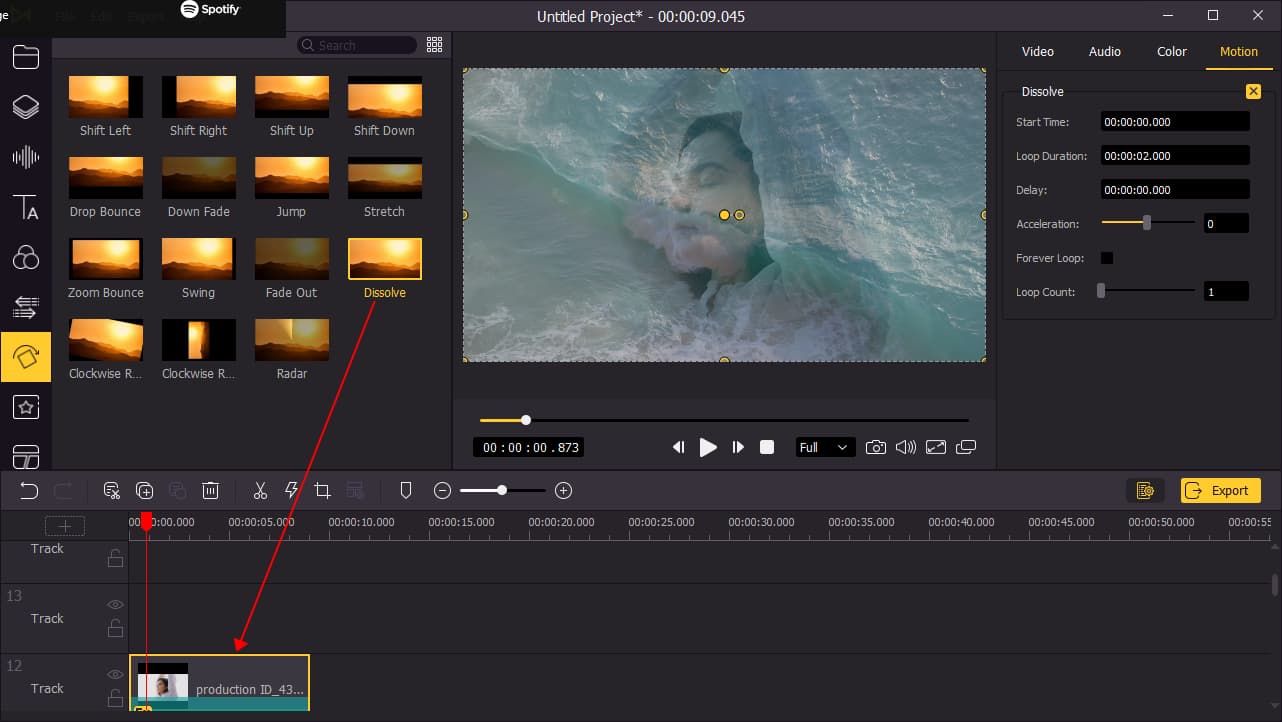
Go to the Animation box, you can find animations like bounce, jump, stretch, swing, dissolve and, etc. Pick one and add it to the timeline, you can change the duration and loop count on the top right panel. When you finish editing, click the play button to check the video.