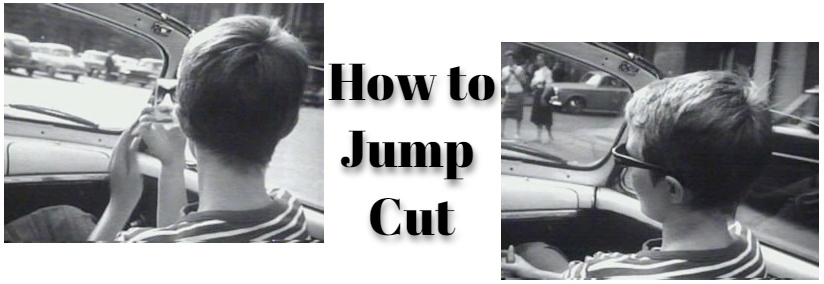
No matter you're making a movie, or a video for YouTube, jump cut is a great technique to make your content stand out. When it is used properly, you can create extra feelings and effects even they're not being demonstrated on the screen. You can also use jump cut to make your video move faster if you want to make it clean and slick.
In the following parts, you're going to learn what is jump cut and how to use jump cuts in your video.
- Part 1. What is A Jump Cut?
- Part 2. When and How to Use Jump Cut?
- Part 3. How to Make Jump Cuts in A Video
What is A Jump Cut?
A jump cut is a cut or transition in a continuous shot of a scene. With several frames cut off from the shot, the final cut will look like it's jumping forward in time. There're two crucial requirements to make a jump cut, one is that the camera position should not vary too much before and after the jump cut. The other one is that the camera angle can't be changed too much.
There's a guideline called the 30-degree rule to avoid jump cuts because a jump cut was considered as a "grammatical mistake" in film making. But in the modern film industry, it's been widely used to intensify certain types of effects or emotions.
When and How to Use Jump Cut?
Jump cuts can be jarring when they're used excessively. But if you use it properly, it's a great technique to make your video or movie more dynamic. Here are some of the occasions you can apply jump cuts:
1. To Show the Passage of Time
To show the passing of time in a quicker way, you can shot the clock and cut out most of the parts but only the points that can show the passing time. Or you can shot the sun, only keep the sunrise, noon and the sunset.
2. To Shorten A Long Conversation
When making a recap video from a long debate, interview or dialogue, you can take out those tedious parts and only keep what's important in the conversation.
3. To Add Special Effects
You can find many jump cuts in the films emphasizing a certain type of effect, emotion, or character. For example, in the film the Lord of the Rings, the use of jump cuts display Gollum is having a conversation with the imaginary self to amplify his schizophrenia.
How to Make Jump Cuts in A Video
In this part, I'm going to show you how to do jump cut editing in your video. And the video editor we're going to use today is TunesKit AceMovi, you can easily edit your video footage in it even if you're a beginner.
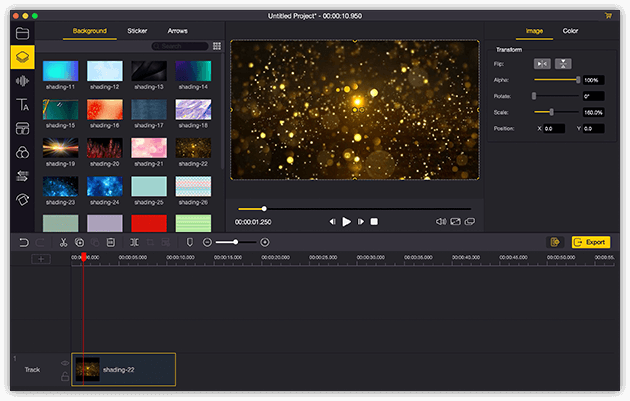
TunesKit AceMovi Video Editor is a one-stop video editor that provides multiple effects and transitions. It has a screen recorder which can record images as well as the sound coming out of your computer. As a video editor for beginners, AceMovi is mounted with features like split screen, filters, animations, texts, and music library. The self-explanatory user interface comes with all the effects and tools you need to embellish your video.

TunesKit AceMovi Video Editor
Security Verified. 5,481,347 people have downloaded it.
- Basic and advanced features that make your video better
- Multiple filters, transitions, text, sound effects, music
- User-friendly interface
- Import as many photos or footage as you want
- Make jump cuts in just a few steps
Next up, I'm going to show you how to make jump cuts in your video in TunesKit AceMovi. Before you add text to your video, make sure that you have already installed TunesKit AceMovi on your computer, this software currently supports Windows and Mac systems.
Add Video Files to TunesKit AceMovi

Open TunesKit AceMovi on your computer, then import your video to the AceMovi media box by dragging and dropping. Or you can click the Import button to add video files.
Add Video to the Timeline
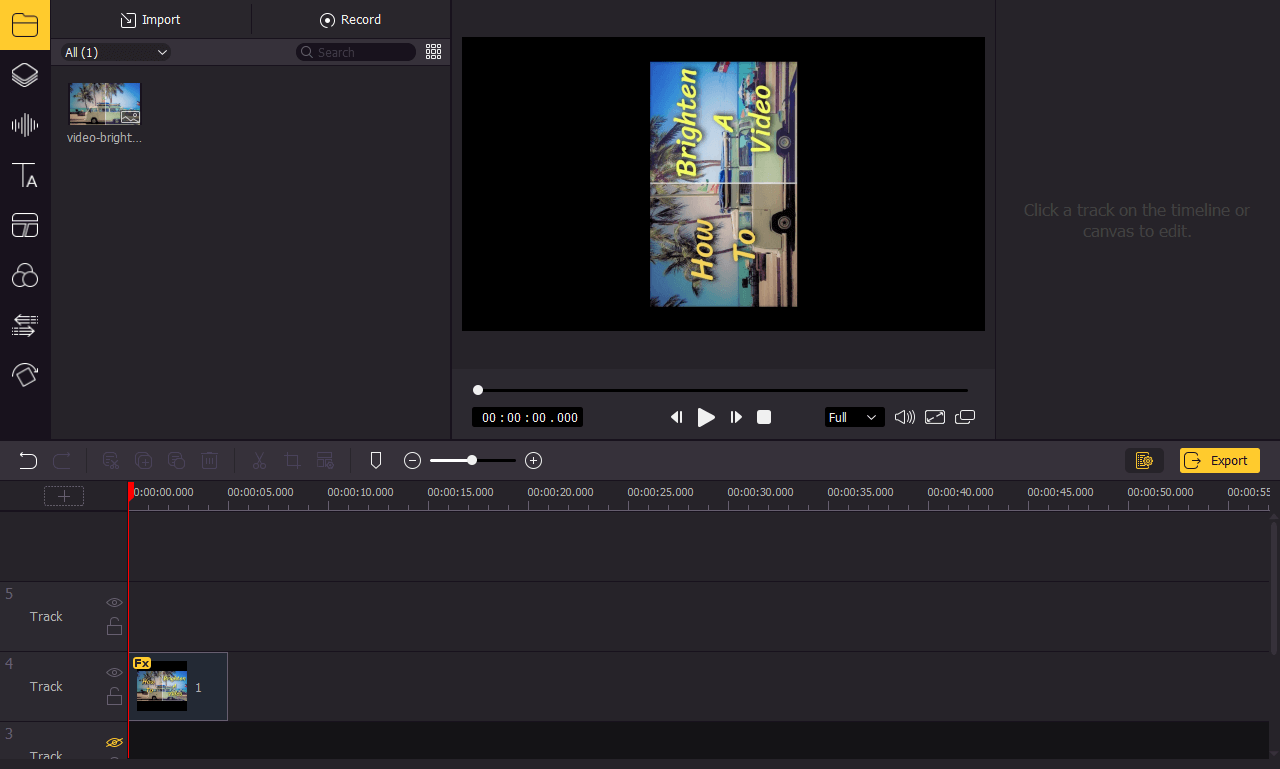
Drag and drop the video to the timeline so that you can do further editing. You may want to drag the slider above the timeline to zoom in/out the timeline so that you can edit your video more easily.
Split Your Video to Create Jump Cuts
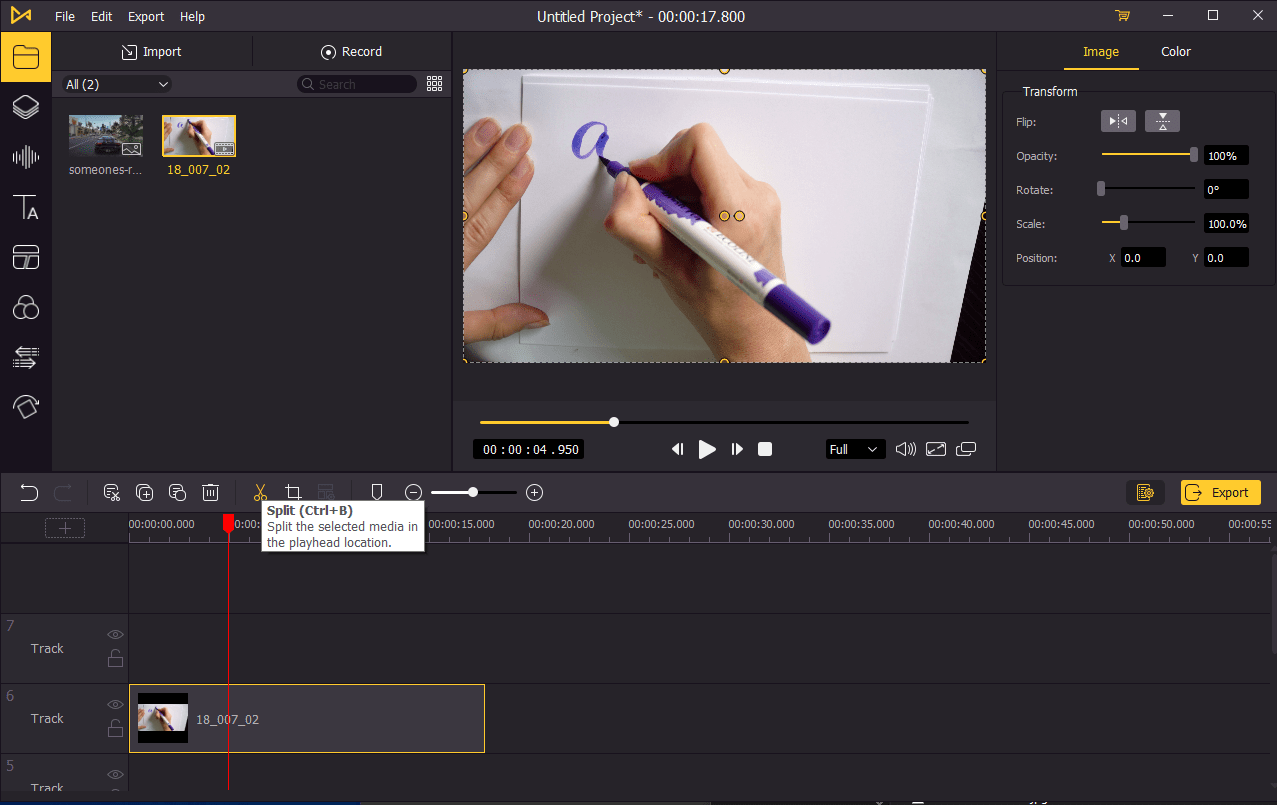
To make jump cuts, you'll need to cut out the unimportant parts in your video and merge the rest to make it look like it's jumping in time.
To cut your video, move the playhead to the point where you want to split, then click on the ![]() to split the video. Then go to where you want to end the cut and split again. Rght-click on the cut out part and click ripple delete. You might need to do this process for several times. After making the jump cuts, you can press on the Space to preview your video.
to split the video. Then go to where you want to end the cut and split again. Rght-click on the cut out part and click ripple delete. You might need to do this process for several times. After making the jump cuts, you can press on the Space to preview your video.
Export Video
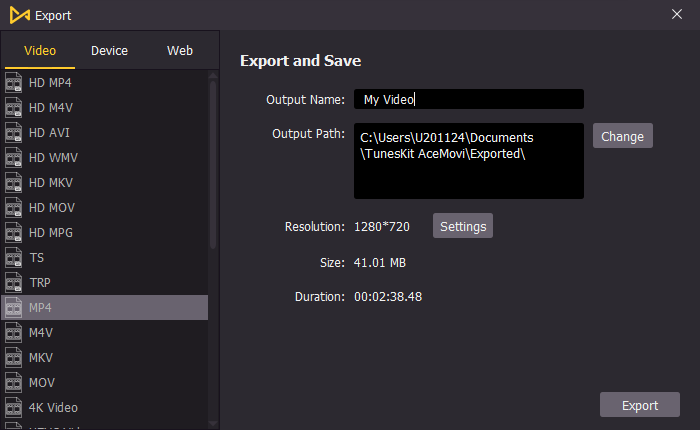
Once done editing your video, click the Export button on the middle left and export your video. Click the Settings, you'll be able to choose the output parameters. And by clicking the Change button, you can change the output location.

